
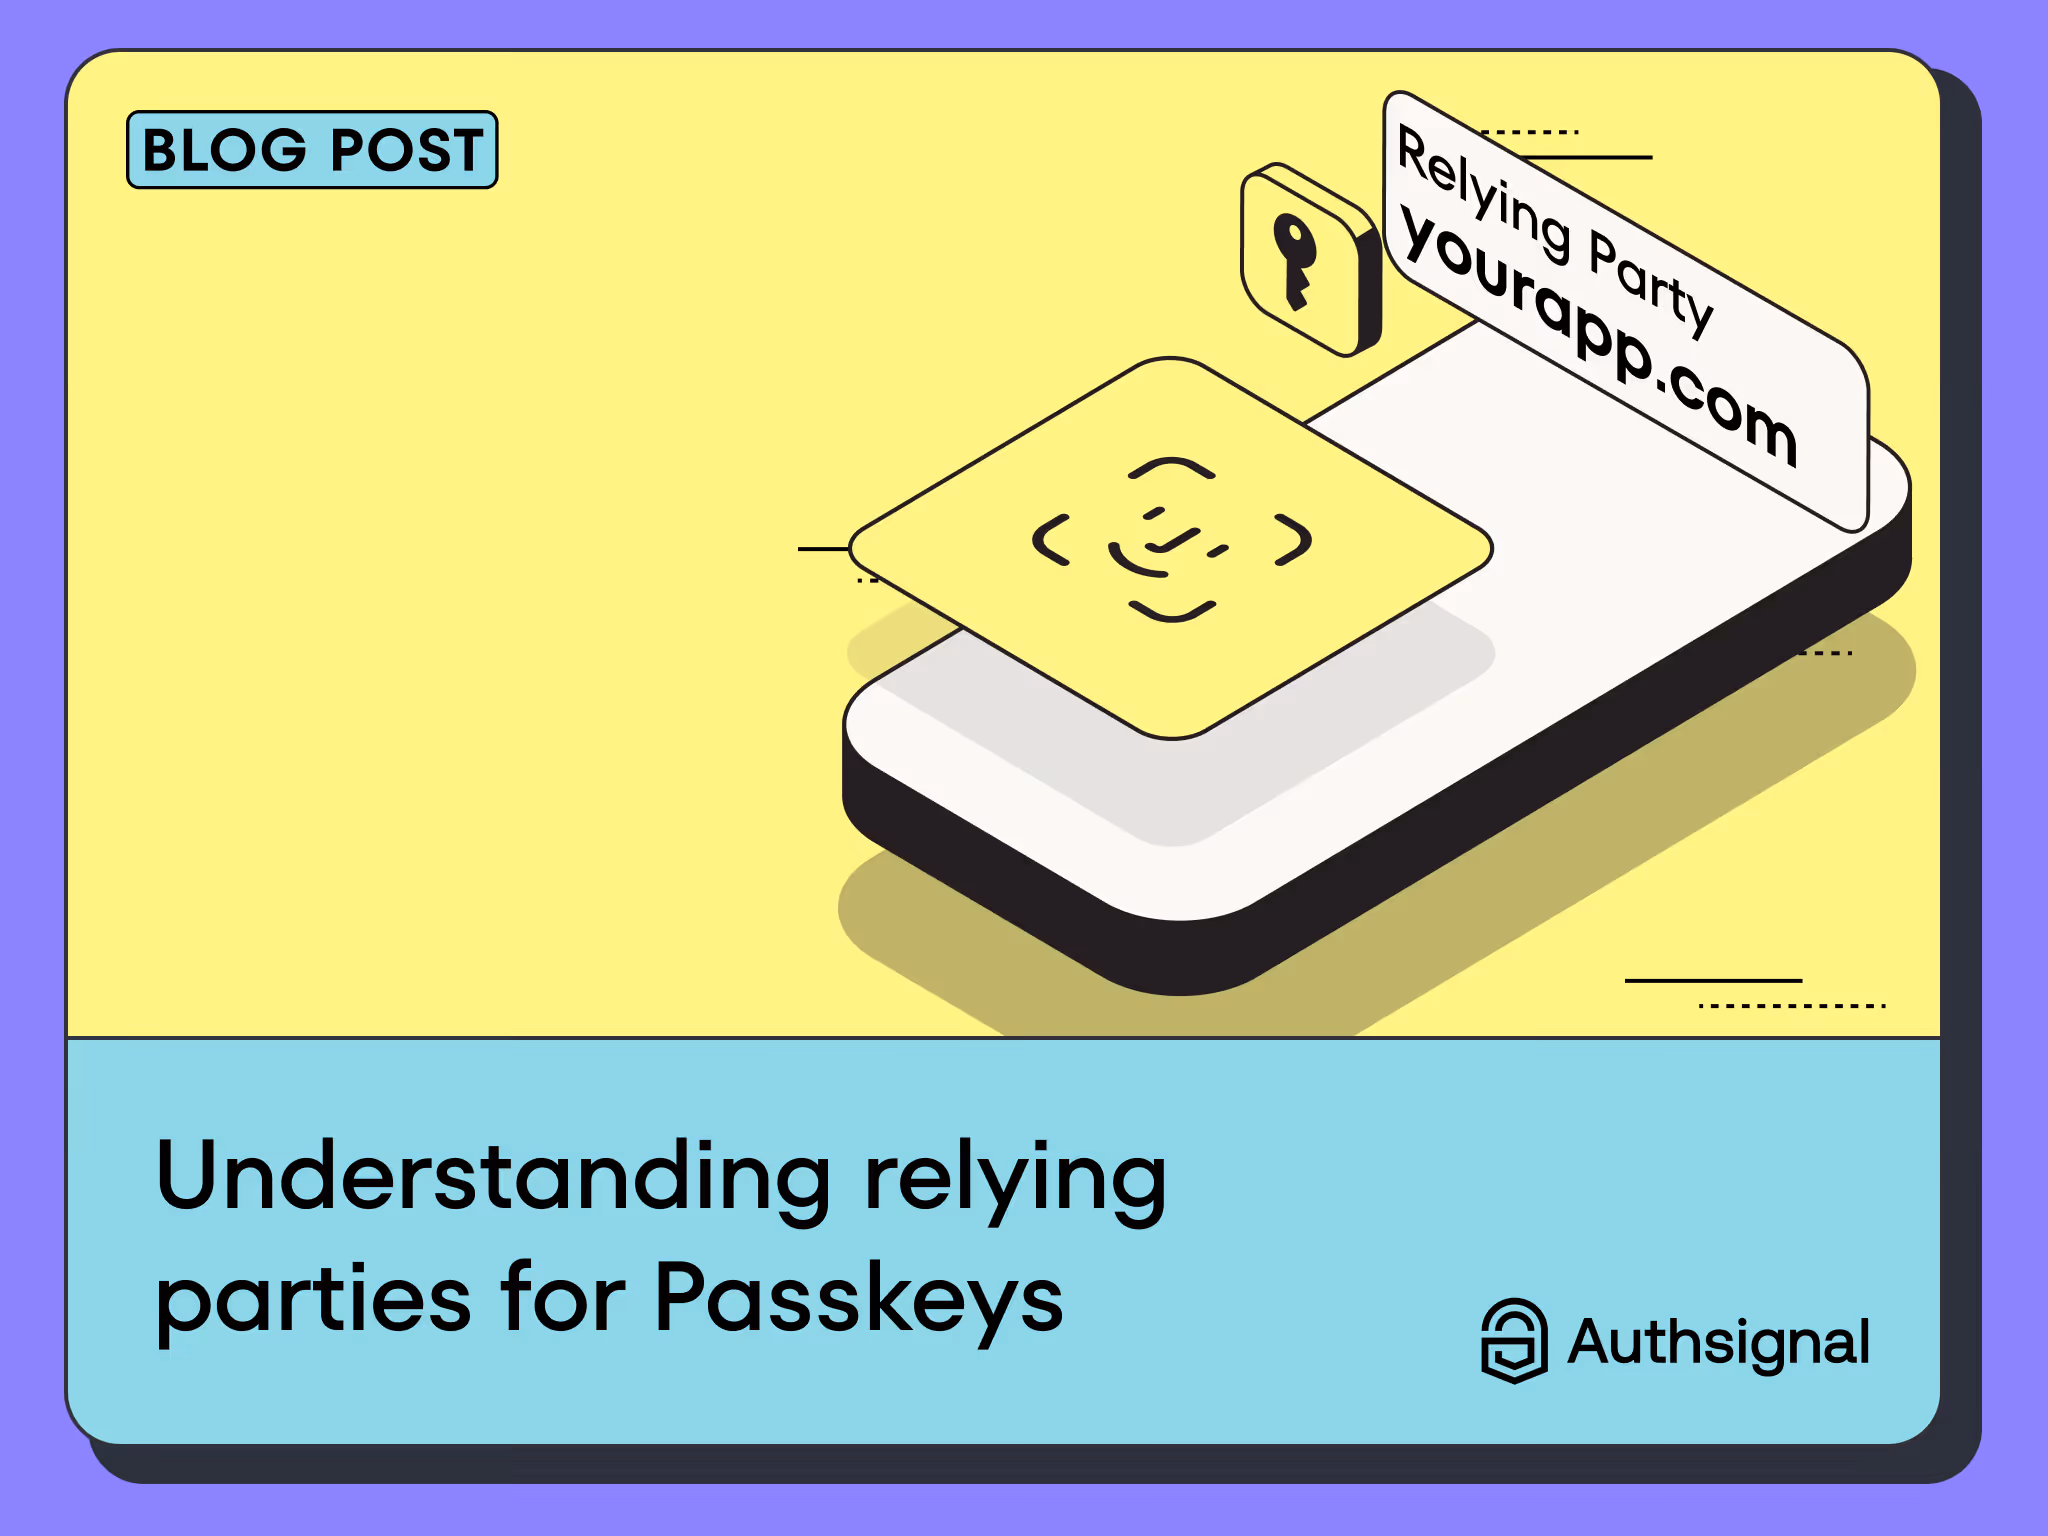
Passage by 1Password is shutting down on January 16, 2026. If you're using Passage for passkey authentication, this guide walks through the technical steps to migrate your users to Authsignal.
We'll cover how to migrate verified email and phone authenticators programmatically, what the data mapping looks like, and how to coordinate passkey public key imports to maintain a frictionless experience for your users.
How migration will work
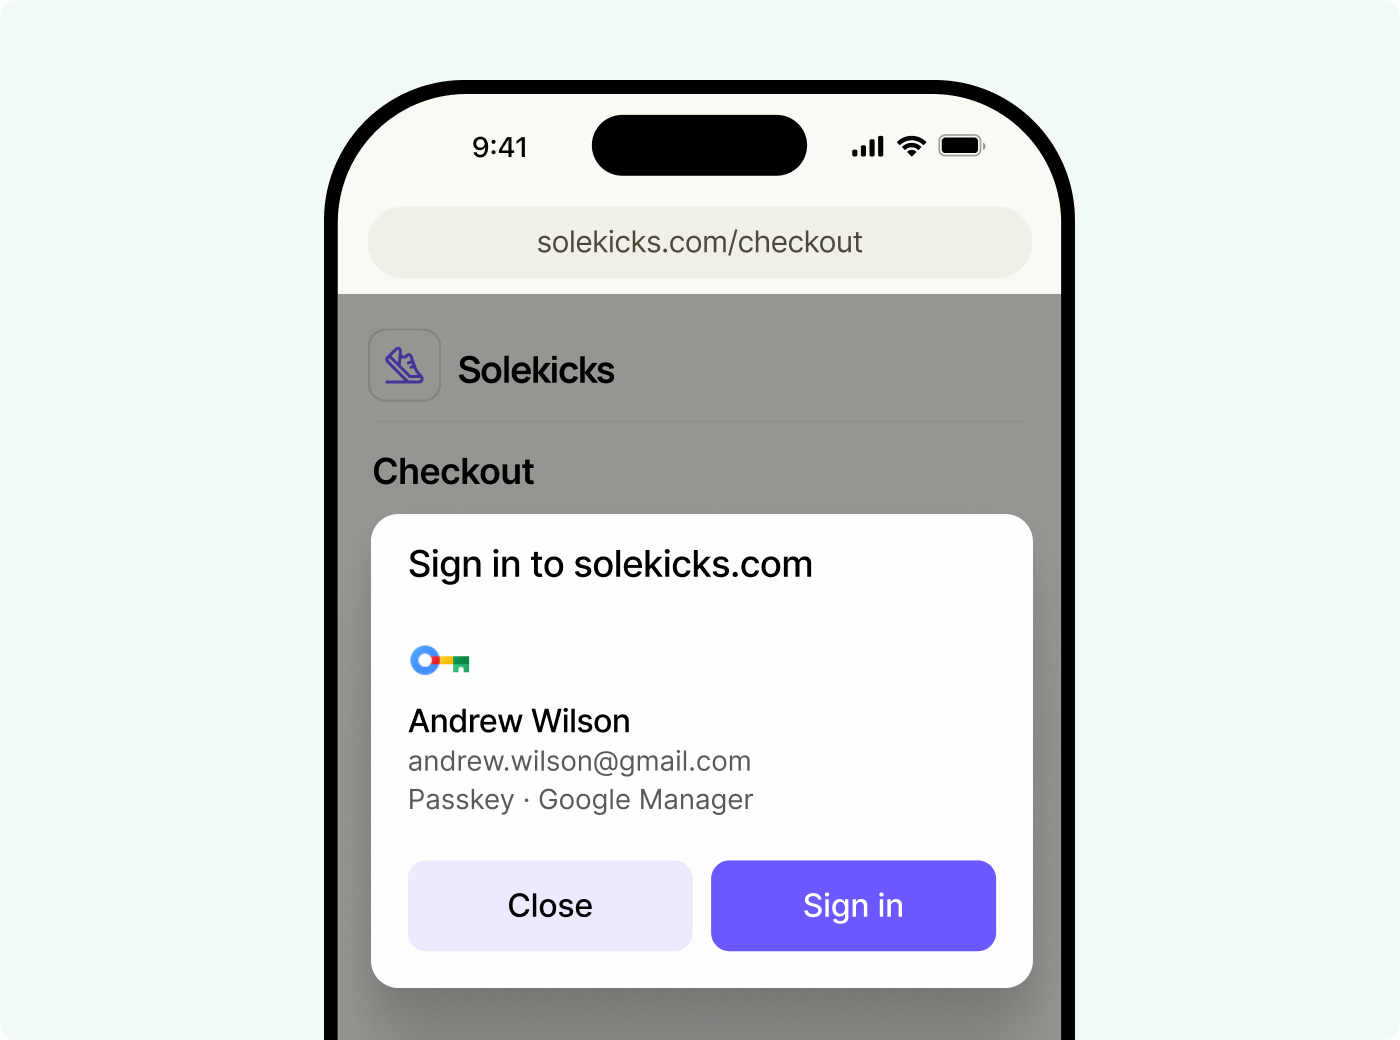
Migrating from Passage to Authsignal is straightforward. Using Authsignal's enrollVerifiedAuthenticator API, you can programmatically migrate users who have already verified their email or phone, so your users experience zero disruption.
Export your user data from Passage using their dashboard. This gives you emails, phone numbers, verification status, and profile information. For passkeys to work after migration, we also need the passkey public keys from Passage. The public key is the critical piece that allows users to authenticate with their existing passkeys. Without it, users would need to re-register their passkeys on every device.
We will work with Passage to ensure all the necessary data, including public keys, exports in the right format. Your users keep their existing passkeys and authenticate immediately after the switch. They don't need to reset passwords, re-register passkeys, or take any action.
Understanding the user data mapping
Passage and Authsignal have different approaches to user data. Passage stores both identity and authentication data together, while Authsignal focuses specifically on the authentication layer. Here's how the data maps between the two.
Passage stores user objects like this:
During migration, you’ll need to map this data to Authsignal's structure. Authsignal's user model focuses on authentication status rather than storing complete profile data:
Your existing Passage user ID becomes the userId in Authsignal, maintaining consistency with your current system. Email and phone data transfer directly. The email_verified and phone_verified fields from Passage map to Authsignal's emailVerified and phoneNumberVerified fields.
The migration works in two layers. First, the user object in Authsignal tracks which types of authentication methods are available. When we import your passkey data, the user's enrolledVerificationMethods array includes "PASSKEY" to indicate they have passkeys set up. Second, each individual passkey from Passage's webauthn_devices array becomes a separate authenticator object in Authsignal with all its credential details.
Each passkey from Passage becomes an authenticator in Authsignal. Here's what the authenticator object looks like:
The migration preserves all the credential data from Passage, including the passkey public key. The public key is stored securely by Authsignal and used for cryptographic verification when users authenticate, but it's not exposed in the API responses you see. What you do see in the authenticator object is the metadata: credentialId (which maps from Passage's cred_id), the device name (from Passage's friendly_name), device information, backup status, authenticator type, and verification timestamps. This maintains complete audit trails of when passkeys were created and last used.
Authsignal doesn't replicate Passage's user_metadata or recent_events fields. Those belong in your primary user database or identity provider. Authsignal handles authentication only, which keeps the architecture clean and lets you maintain user profile data where it makes sense for your stack.
If you're using Passage's social connections (Google, Apple, GitHub), those should stay with your identity provider. Authsignal layers on top of your existing IdP, adding passkey authentication and MFA without replacing your social login infrastructure.
Migration implementation
Step 1: Understanding your Passage user data
Passage stores user data with email and phone verification status. When you export your users, you'll have access to this information structure for each user. The key fields you'll work with are the user ID, email address with verification status, and phone number with verification status.
Step 2: Enroll users with verified email and phone
For users who have already verified their email or phone with Passage, you can automatically enroll them for authentication methods like Email OTP, SMS, and WhatsApp using Authsignal's Enroll Verified Authenticator endpoint.
Here's how to programmatically enroll users whose email has been verified:
Similarly, for users who have verified their phone number:
Step 3: Implementing the migration
With the data mapping clear and the API method understood, you can implement your migration logic. The basic pattern for each user is straightforward. Here's how you'd migrate a single user with verified email and phone:
You can build your own batch processing around this pattern based on your migration strategy.
Step 4: Passkey migration
Passkey migration requires importing the public keys from Passage. This will allow you to migrate passkeys programmatically just like email and phone authenticators.
Contact us to coordinate the passkey data export from Passage and import into Authsignal. We'll work with you to ensure the passkey credentials transfer correctly so your users can continue using their existing passkeys without any re-enrollment.
Integration work
Once your user data is migrated, you need to update your application code. Replace Passage's authentication SDKs with Authsignal's equivalents. We offer SDKs all major platforms and frameworks.
Update your passkey authentication flows to call Authsignal's APIs instead of Passage's. This includes login, registration, session management, and any MFA challenges you have configured. Check out our API documentation.
If you're using an existing identity provider like AWS Cognito, Azure AD B2C, Auth0, or Keycloak, Authsignal integrates as an additional layer rather than a replacement.
Next steps
Contact us about your specific Passage setup. We'll walk through what migration looks like for your use case, coordinate the passkey data export with Passage, and map out a plan that fits your timeline.
Your users won't notice the transition if you execute it well and that's the goal. Better security, more flexibility, and a platform that grows with your needs, all while maintaining the passwordless experience your users expect.
.png)