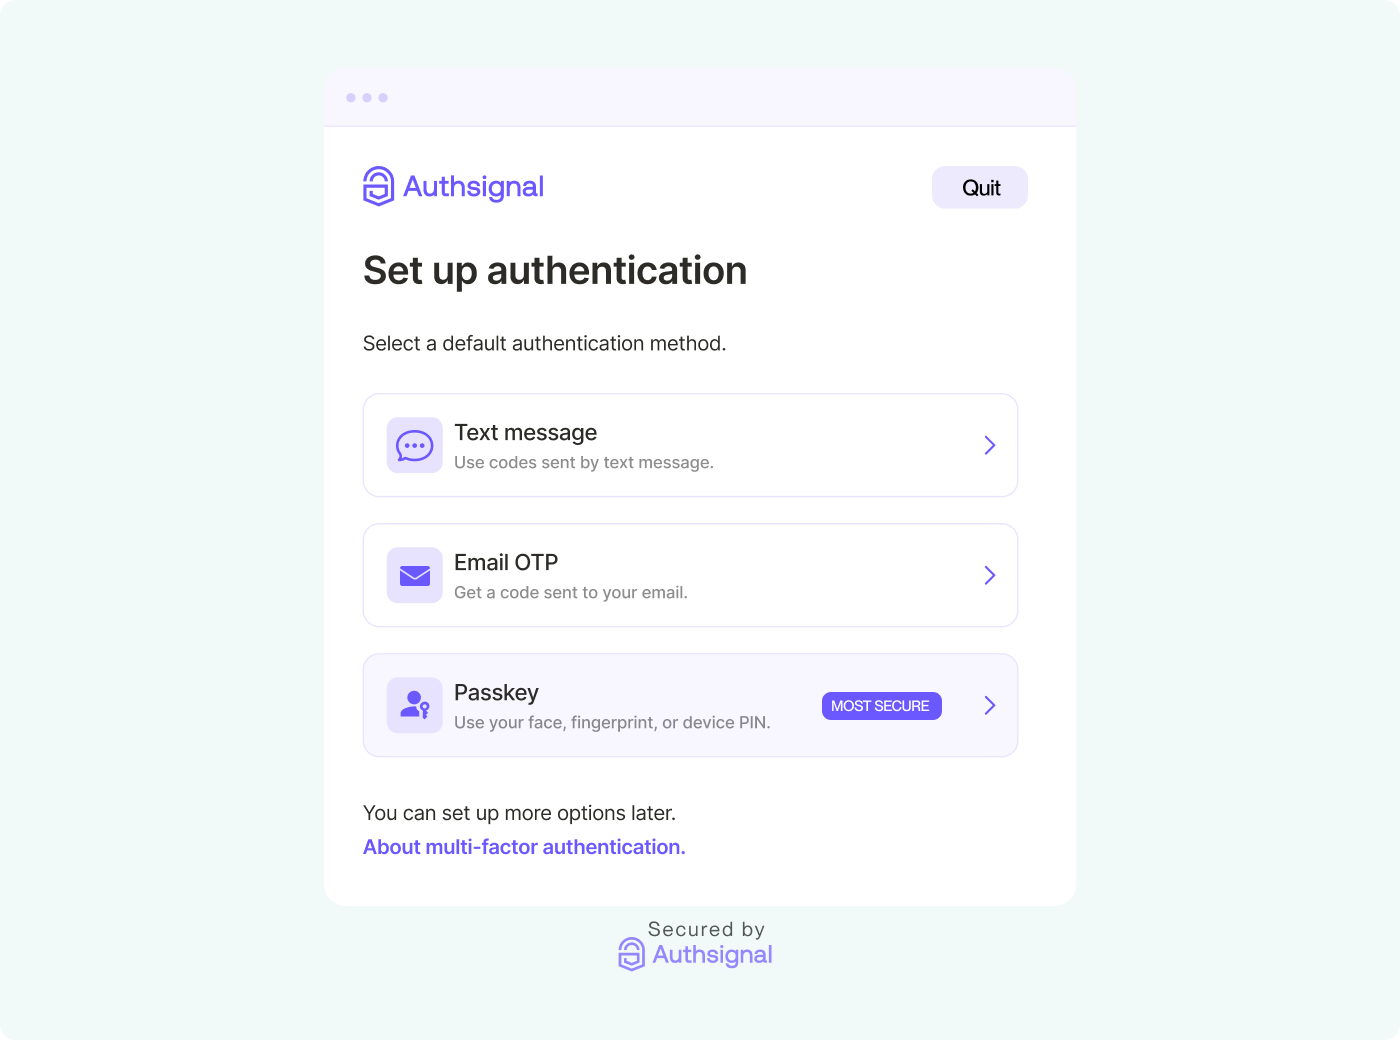
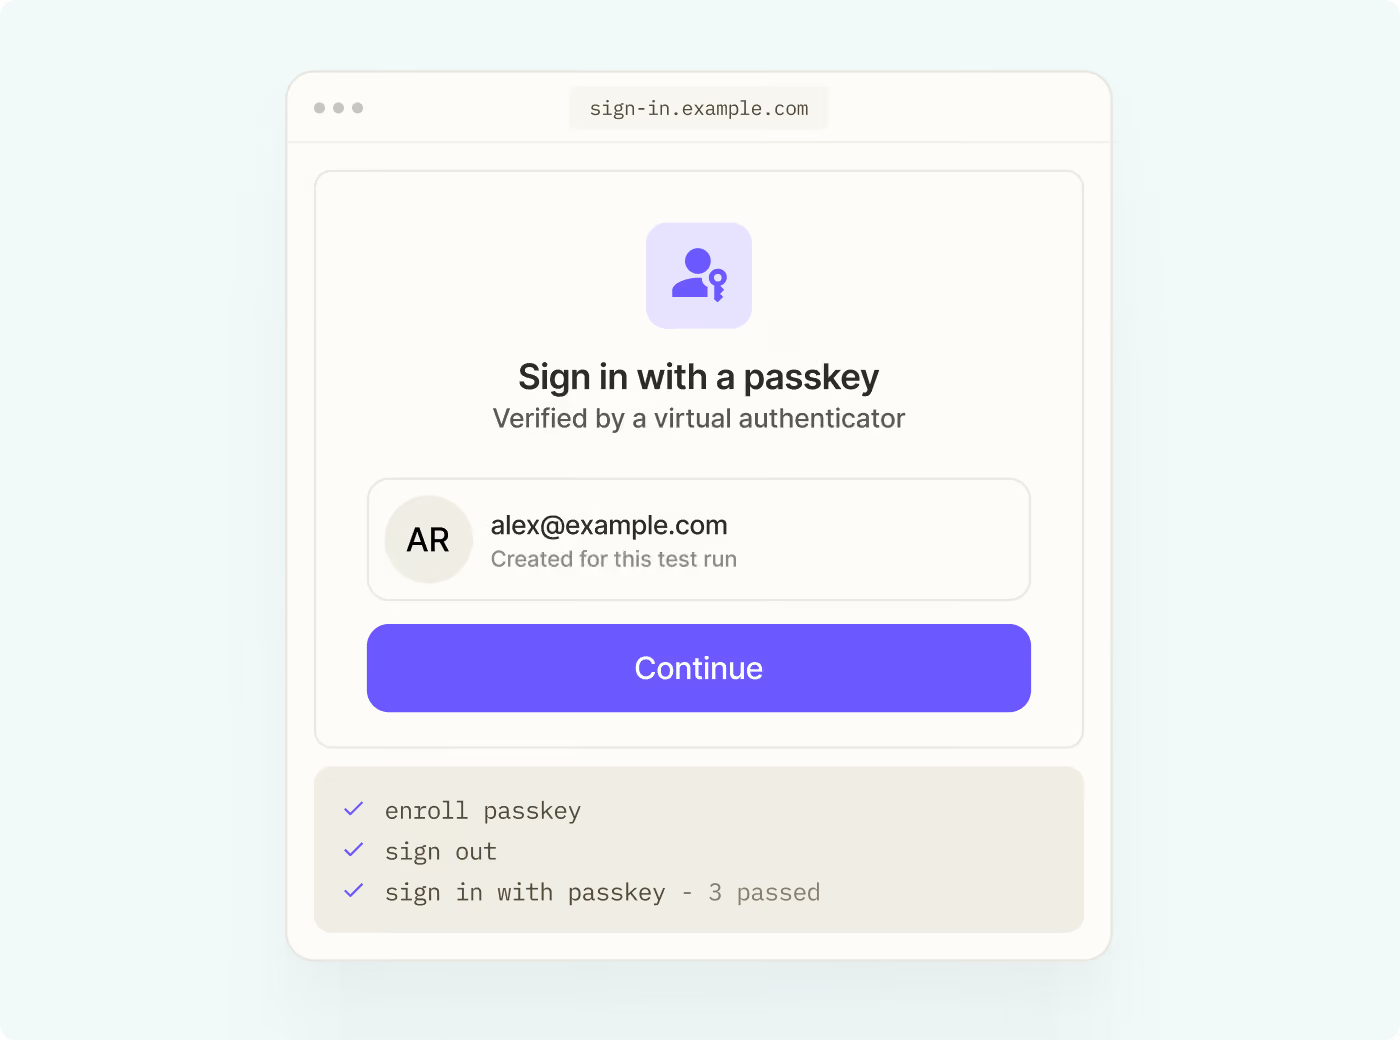
In this guide, we'll explore how you can pair Cognito with Authsignal's MFA capabilities using the AWS SDK, Authsignal Web SDK, and React. This combination gives you the complete freedom to build your own custom UI while maintaining all the security standards.
Repository Structure
You can access the complete source code with all implementation details on our GitHub repository and also experience it firsthand through our live demo.
The repo consists of two main components:
- Backend Lambda Functions — Handles the Cognito integration with Authsignal
Create-auth-challengelambda for initiating custom challenges via AuthsignalVerify-auth-challenge-responselambda for validating Authsignal challengesDefine-auth-challengeandPre-sign-uplambdas required for Cognito custom auth
- React Frontend — A complete implementation of the user-facing authentication experience
- Sign-up flow with Authsignal MFA
- Sign-in flow with Authsignal MFA
The code samples in this guide are extracted directly from this implementation.
Understanding the Integration Architecture
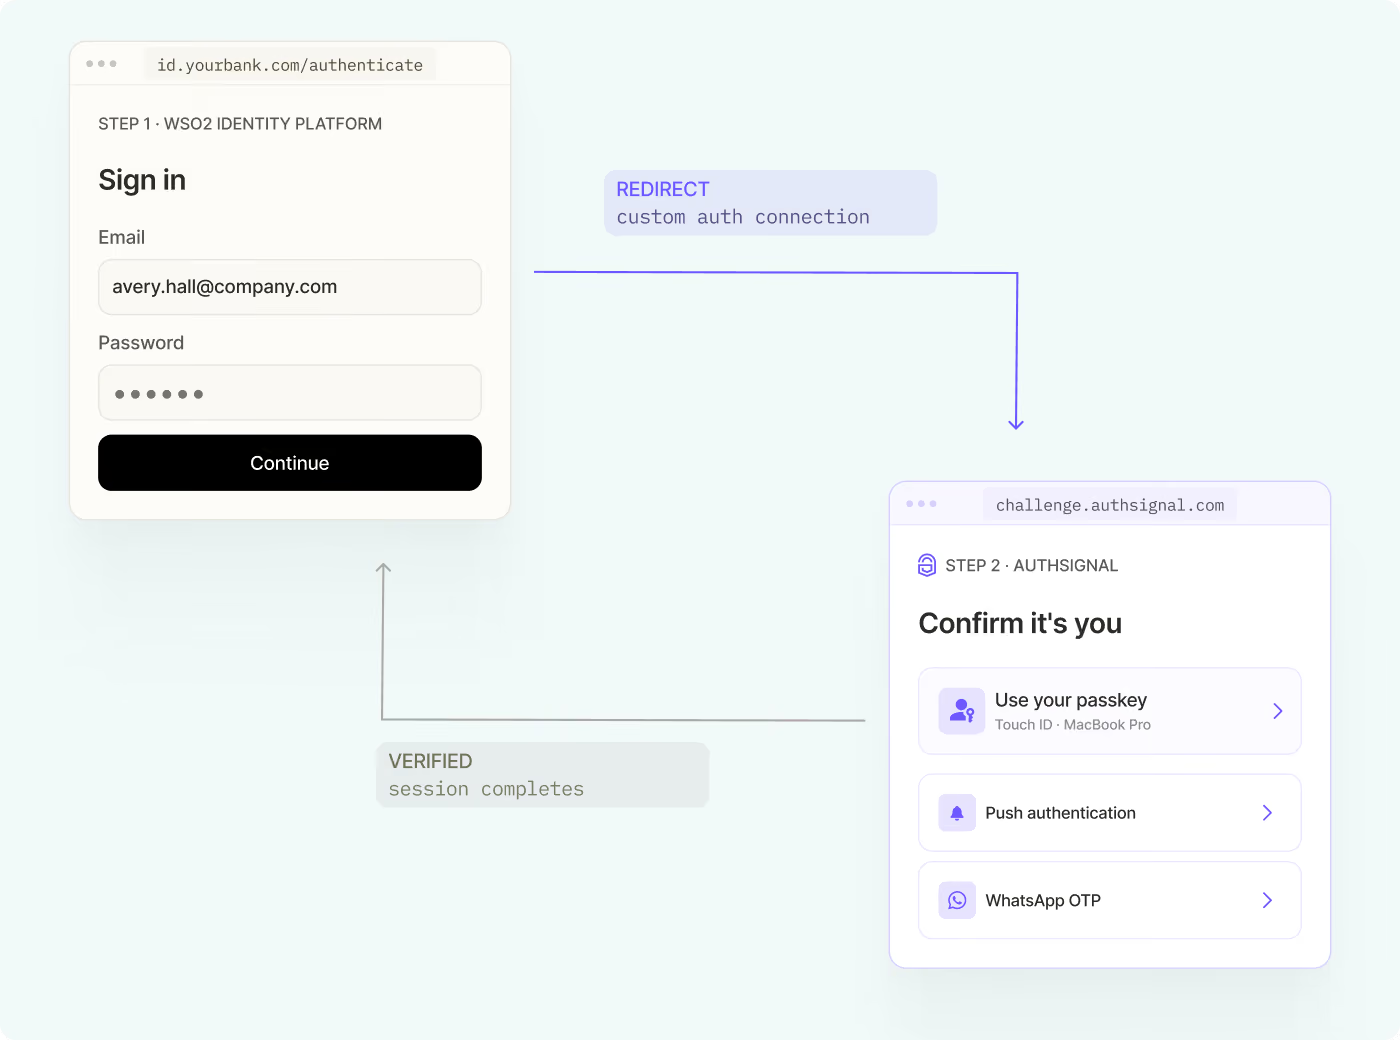
Here's a high-level overview of how the two services work together:
- User authentication starts with AWS Cognito as the identity provider
- MFA verification is handled by Authsignal for both sign-in and sign-up flows
- Custom authentication flows connect the two services through AWS Lambda triggers
Setting Things Up
Authsignal Portal Settings
- Enable and configure the authenticators you want to use (We’ll be using Email OTP initially, then will show how you can add other Authenticator options like Passkey, Magic Link and TOTP)
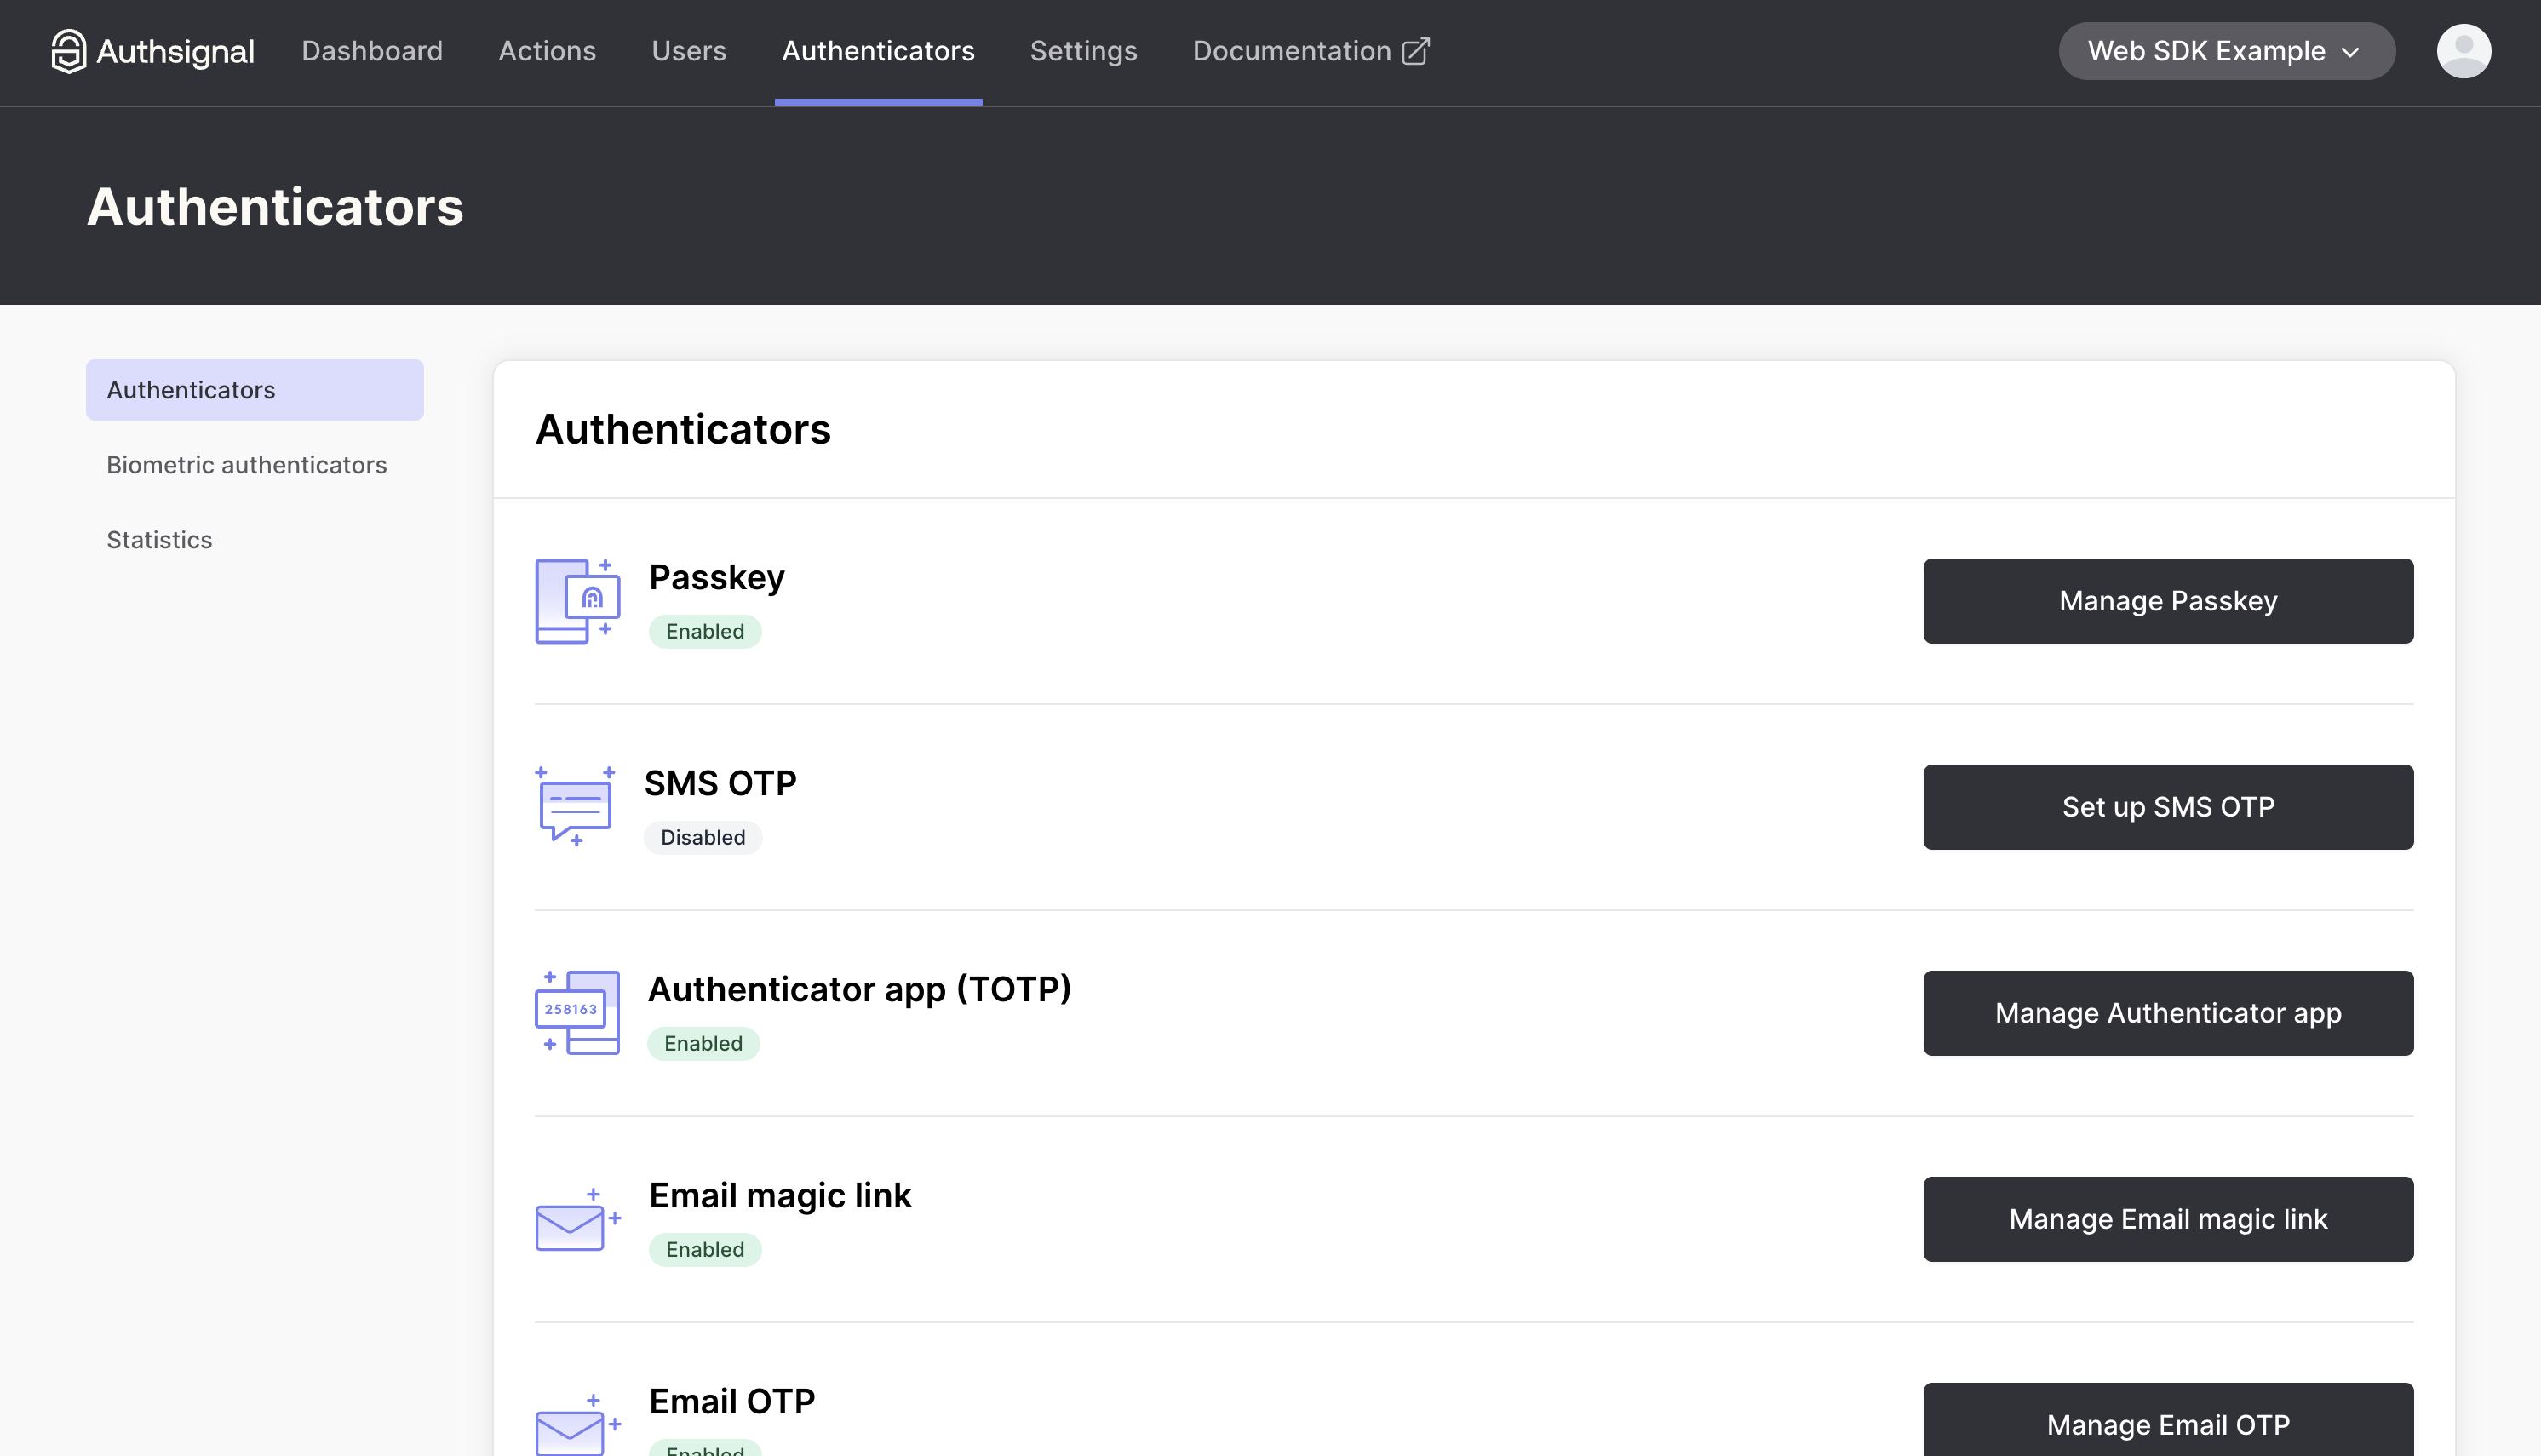
- Grab your Tenant ID, region URL and API Key
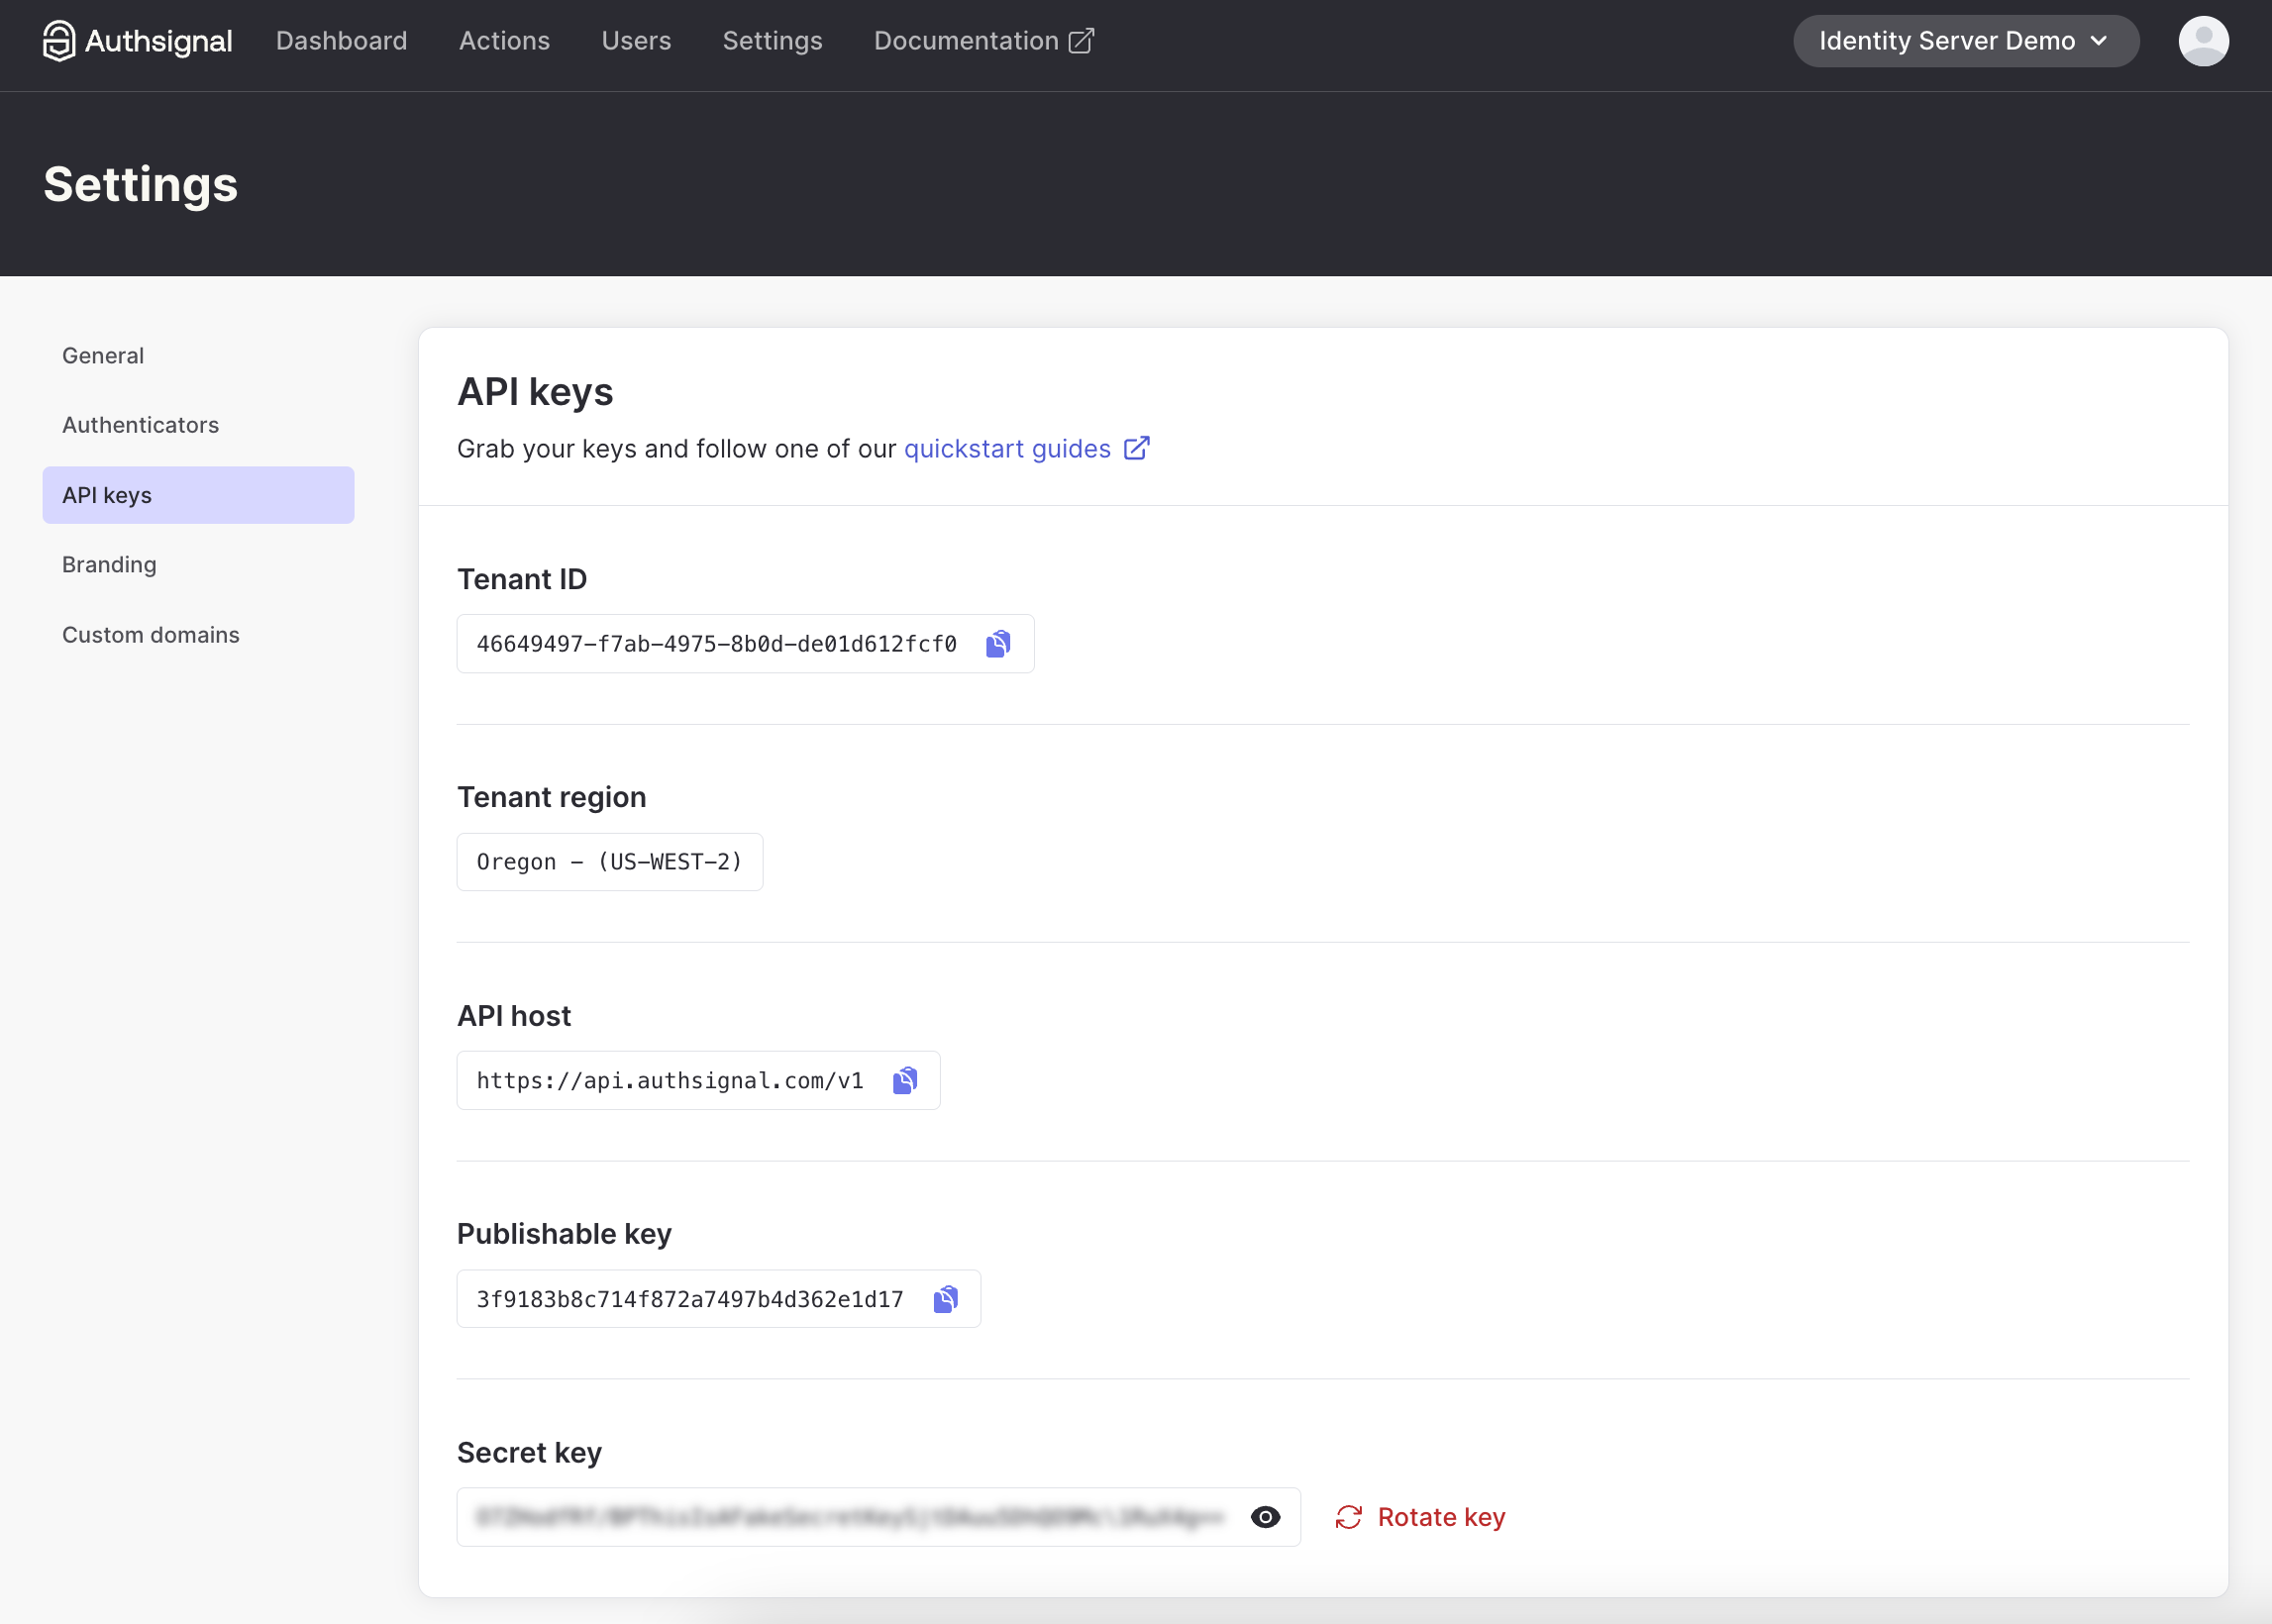
- Add these environment variables to both your frontend and Lambda functions. You’ll also need your User Pool ID, User Pool Client ID, and Region from your AWS Console.
- Add these credentials to your frontend
.envfile (for client-side SDK) - Create separate environment variables for your Lambda functions (for server-side validation)
- Add these credentials to your frontend
User Pool Settings on AWS Console
For this example, there are several important settings to configure when creating a Cognito User Pool
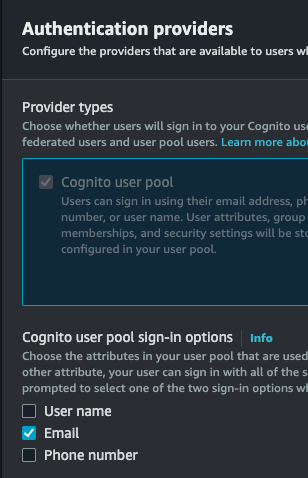
- Choose 'Email’ as the sign-in option.
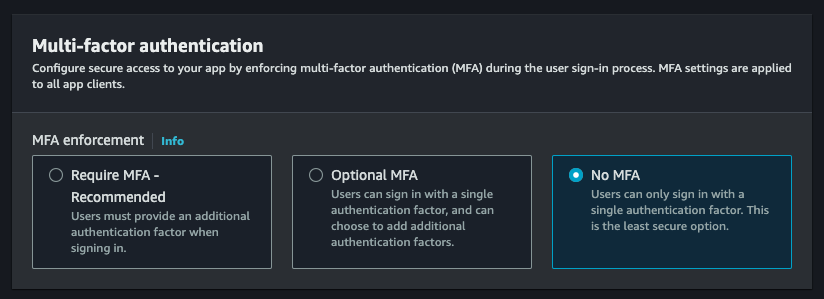
- Choose ’No MFA’ as the MFA option. This can be implemented with Authsignal instead.
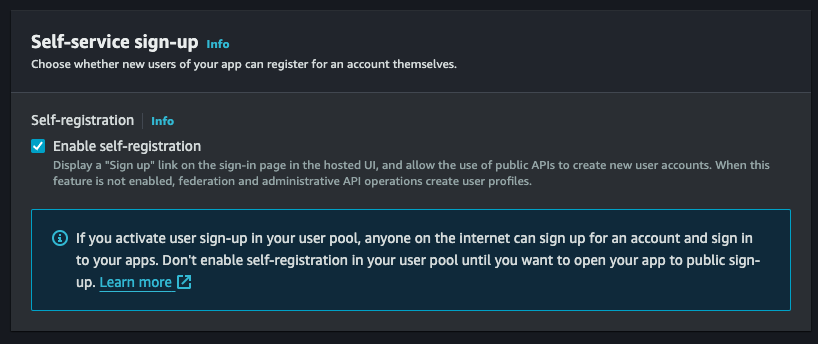
- Enable ’self-registration’ so we can let users sign up directly from the SPA without going through a backend.
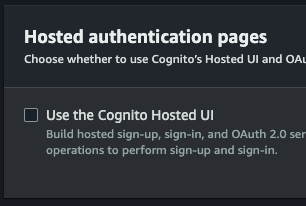
- Disable the ’Cognito Hosted UI’. The SPA replaces this.
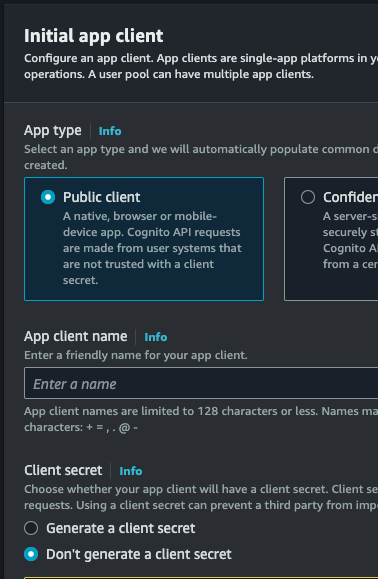
- Select ’Public client’ for the app type. Also, select `Don’t generate a client secret’.
Setting Up AWS Cognito with Authsignal
Backend Components
The integration requires several Lambda functions that handle different parts of the authentication flow:
1. Create Auth Challenge (Lambda)
This Lambda function creates a challenge when a user attempts to sign in or completes a sign-up. It communicates with Authsignal to generate a token:
This Lambda function uses Authsignal's track method to create a challenge token that's passed back to the client.
2. Verify Auth Challenge Response (Lambda)
This function verifies the challenge response received from the client:
This function validates the token returned from the client-side Authsignal challenge to determine if the authentication challenge was successfully completed.
3. Additional Required Cognito Lambda FunctionsThe following Lambda functions don't integrate directly with Authsignal but are required for Cognito custom authentication flows:
Define Auth Challenge:
Used to define when a challenge has been completed successfully and tokens should be issued.
Pre-Sign-Up:
Used to auto-confirm users during sign-up, since we are verifying their email as part of the sign-up flow itself.
Frontend Implementation
Setting Up the AWS SDK
The frontend uses the AWS SDK to communicate with Cognito:
Authentication Flows
Sign-Up Flow
The sign-up process begins when a user enters their email:
Sign-In Flow
The sign-in process also begins with the user entering their email:
MFA Verification Flow
Both sign-up and sign-in processes use Authsignal for verification. While they use different routes (/confirm-sign-up for new users and /mfa for existing users), the verification mechanism is essentially the same:
Adding Different Authenticator Types
You can also add multiple types of authenticators. This example implementation includes four options:
1. Email OTP
Email-based one-time passwords are used for both sign-in and sign-up verification.
2. Passkeys
Integrate modern, passwordless authentication with passkeys for a seamless login experience.
3. Email Magic Link
Implement passwordless magic link authentication:
4. TOTP (Authenticator Apps)
Add support for time-based one-time passwords with popular authenticator apps:
Conclusion
This implementation demonstrates how AWS SDK with Authsignal Web SDK gives you complete control over your authentication flows and UI design. By leveraging Lambda triggers and custom challenge flows, you can create a tailored authentication experience. This approach provides the flexibility to implement exactly what your application requires without compromising on user experience or security.