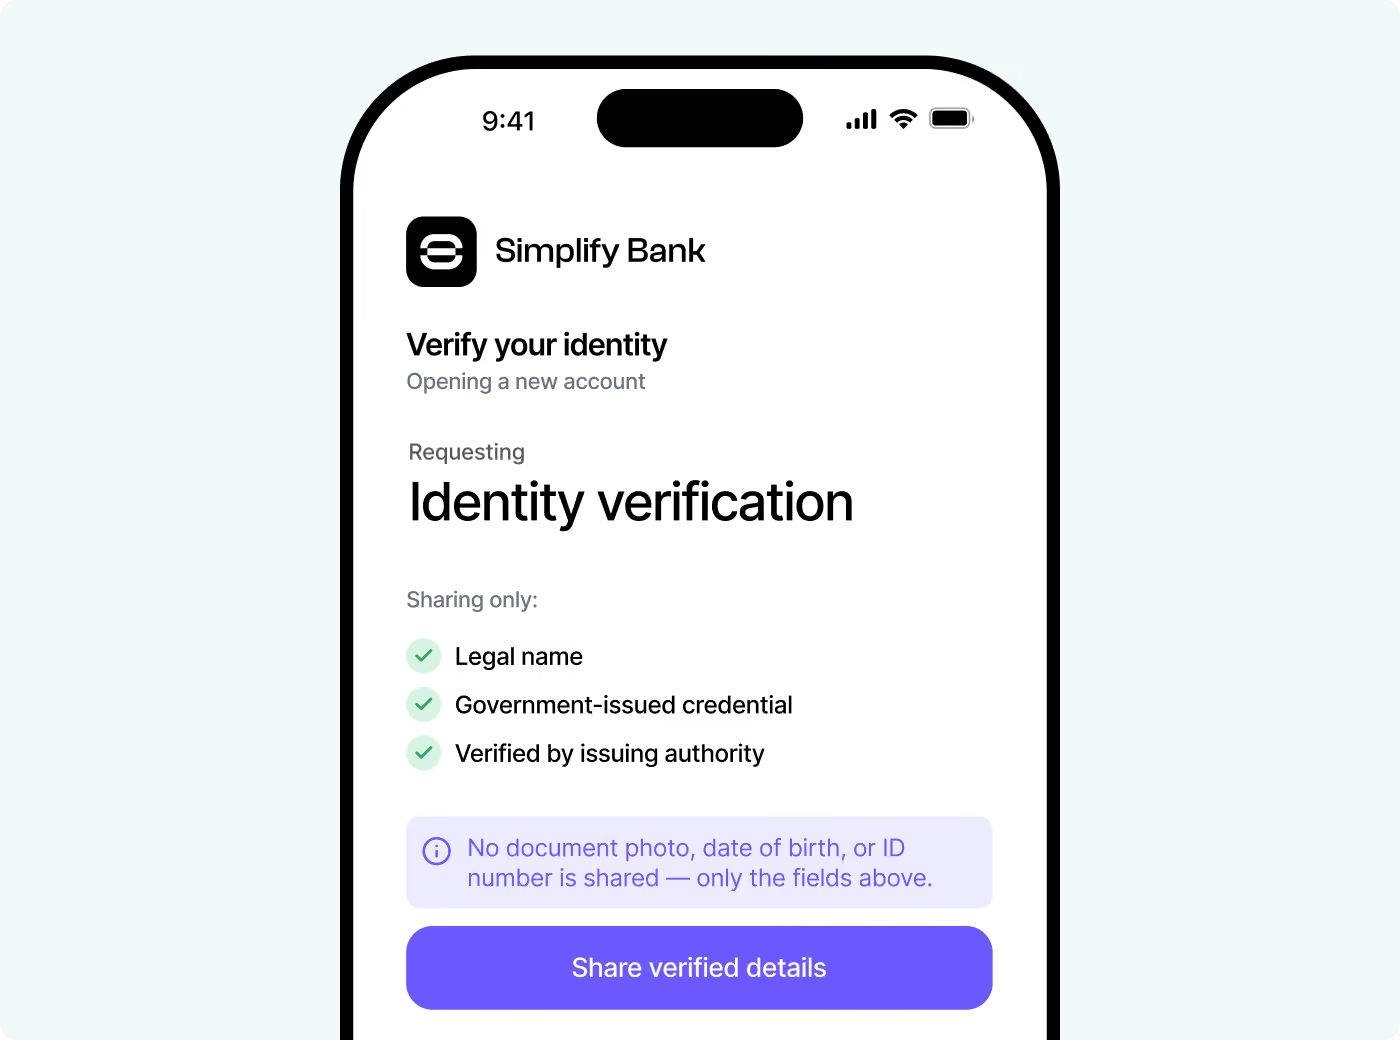
Customer service teams often need to confirm a caller’s identity before changing account details, discussing billing, or resetting credentials. Security questions and personal information are poor checks: legitimate customers may forget the answers, while attackers may obtain them through data breaches or social engineering.
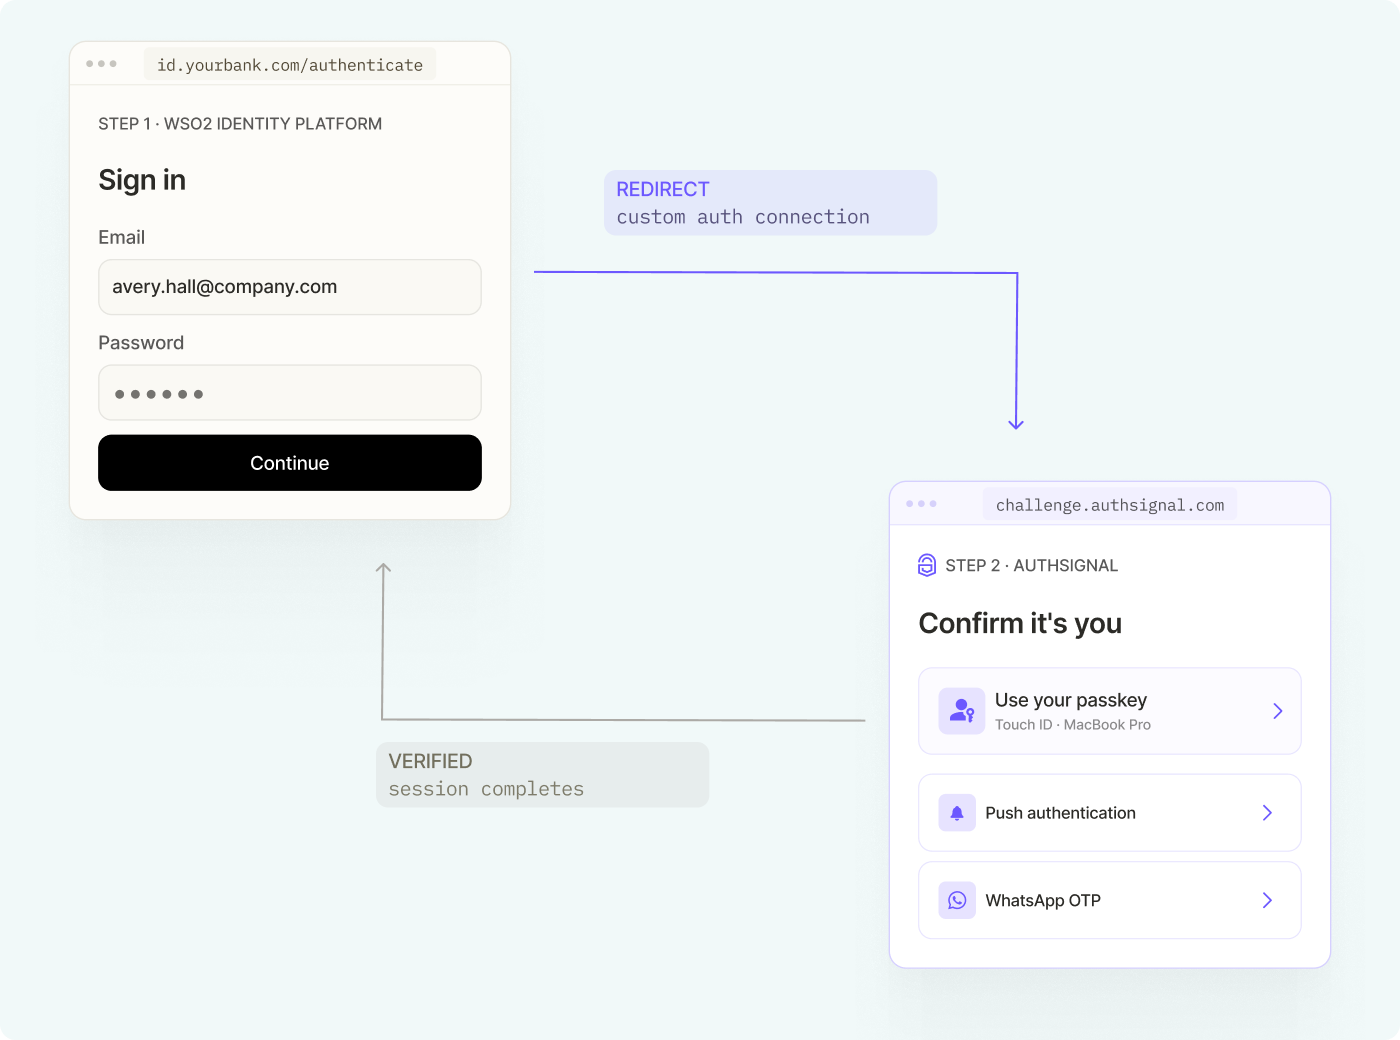
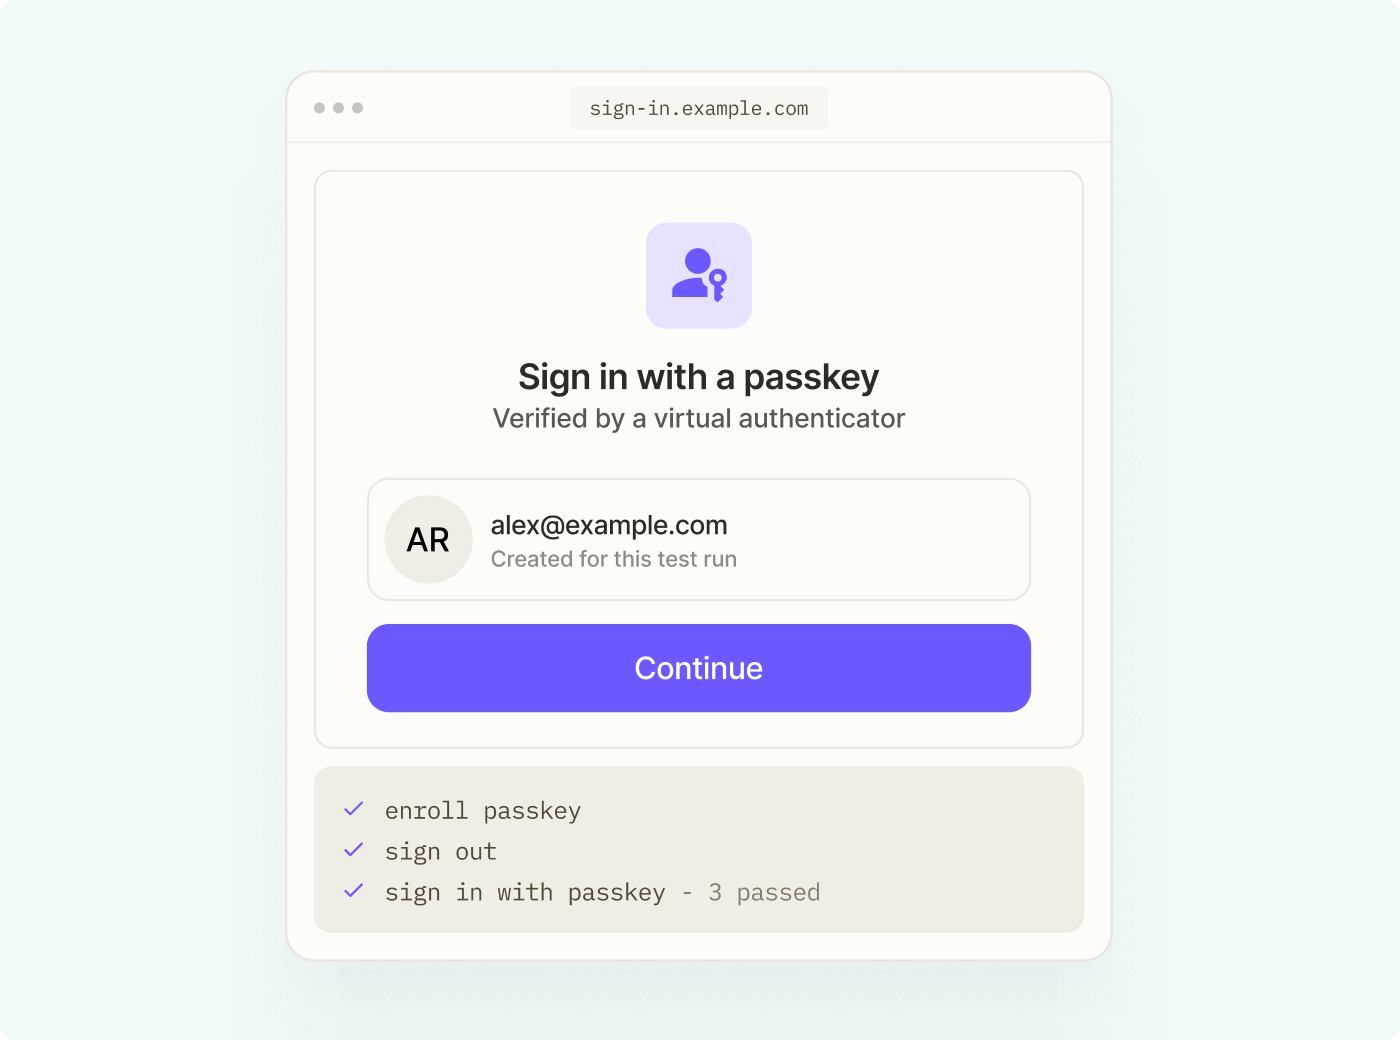
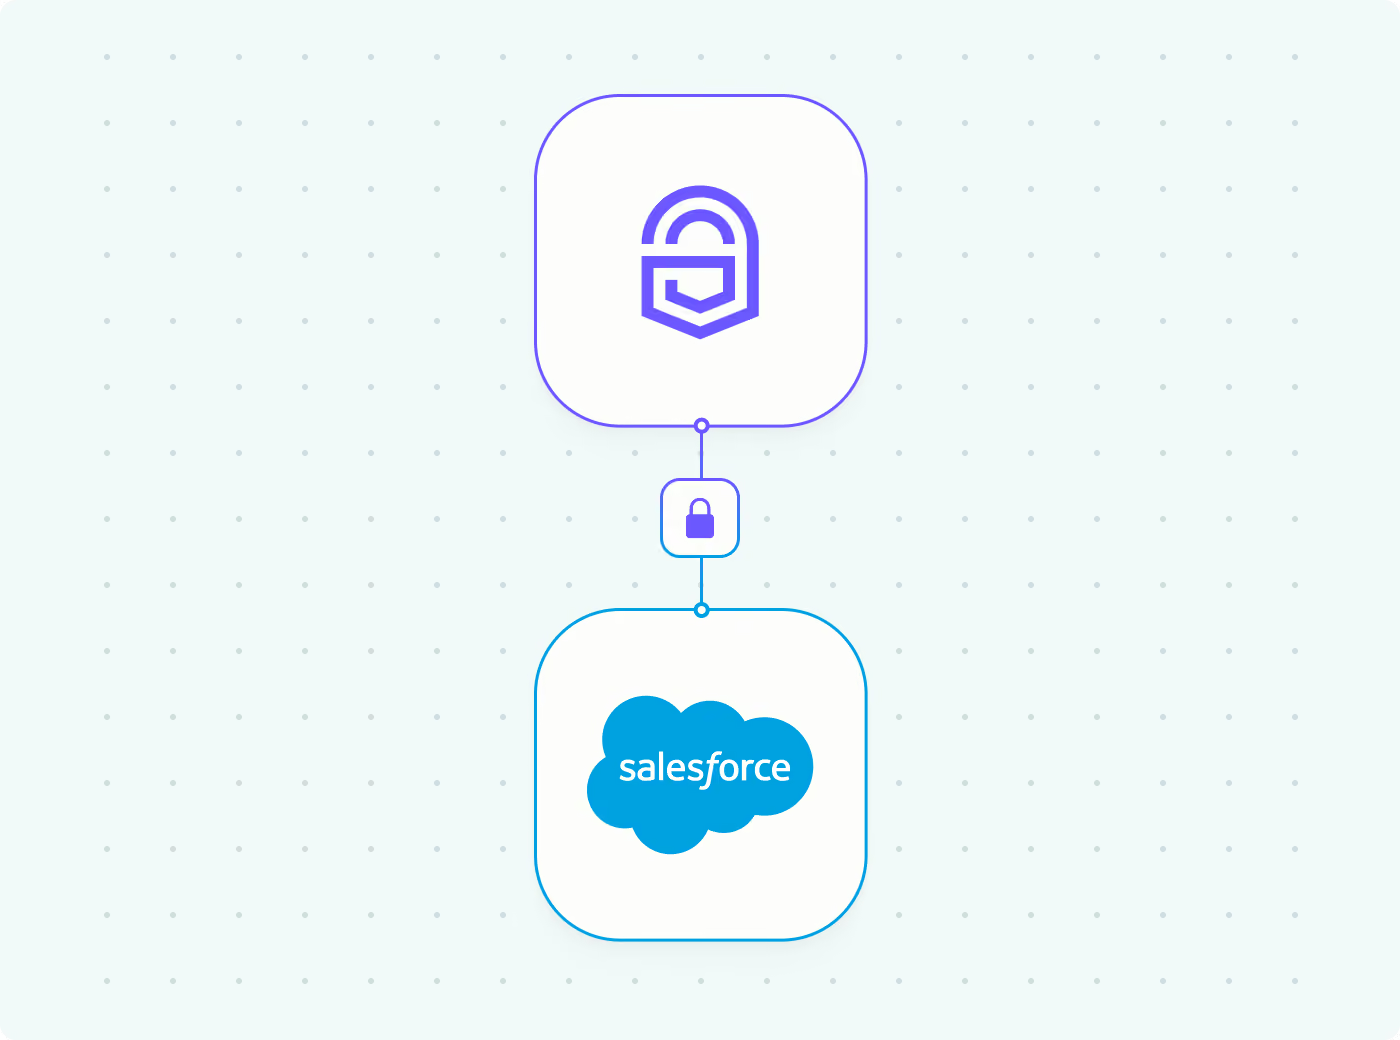
Authsignal Call Connect brings caller verification into Salesforce. Agents can initiate an authentication challenge from a Case record and see its outcome without leaving Salesforce. Depending on your Authsignal configuration, challenges can use methods such as passkeys, SMS or WhatsApp OTP, email OTP or magic links, push authentication, and biometrics.
This guide explains how to install and configure the Salesforce integration.
Why traditional caller verification falls short
Security questions, account numbers, and personal details create friction without providing strong proof of identity. Agents spend time working through manual checks, customers may not remember the expected answers, and attackers can sometimes find the same information in breached data or through social engineering.
Call Connect lets the agent send a configured authentication challenge instead. After the customer completes it, Authsignal sends the result back to Salesforce. The agent can then continue with the request only after seeing a successful verification outcome.
What the Salesforce integration provides
- Verification within Salesforce: Agents can initiate a challenge from the Salesforce Case interface.
- Configurable authentication methods: Available options depend on the authenticators enabled in your Authsignal tenant.
- Recorded outcomes: The Call Connect Transaction Record component keeps a log of Call Connect activity.
- Less reliance on security questions: Authentication challenges can help reduce the risk associated with knowledge-based checks and social engineering.
- A configurable challenge window: Administrators can set how long a customer has to complete a challenge.
Prerequisites
Before you begin, make sure you have:
- A Salesforce organization running Enterprise Edition or higher
- System Administrator access to the Salesforce organization
- Lightning Experience enabled
- Salesforce Sites enabled, or permission to enable it during setup
- An Authsignal account with the authentication methods you intend to use configured
Authsignal Call Connect requires Salesforce Sites for its webhook. Other site types, including Experience Sites, do not work with this configuration.
Step-by-step configuration
Step 1: Install the managed package
The Authsignal team will provide the URL for installing the Call Connect managed package. Make sure you use the correct installation URL for your environment: Production or Developer Edition versus Sandbox.
Open the URL and choose Install for Admins Only. You will assign permissions to other users later.
When prompted about remote sites, select Yes, grant access to these third-party websites. This allows Call Connect to communicate with the Authsignal APIs.
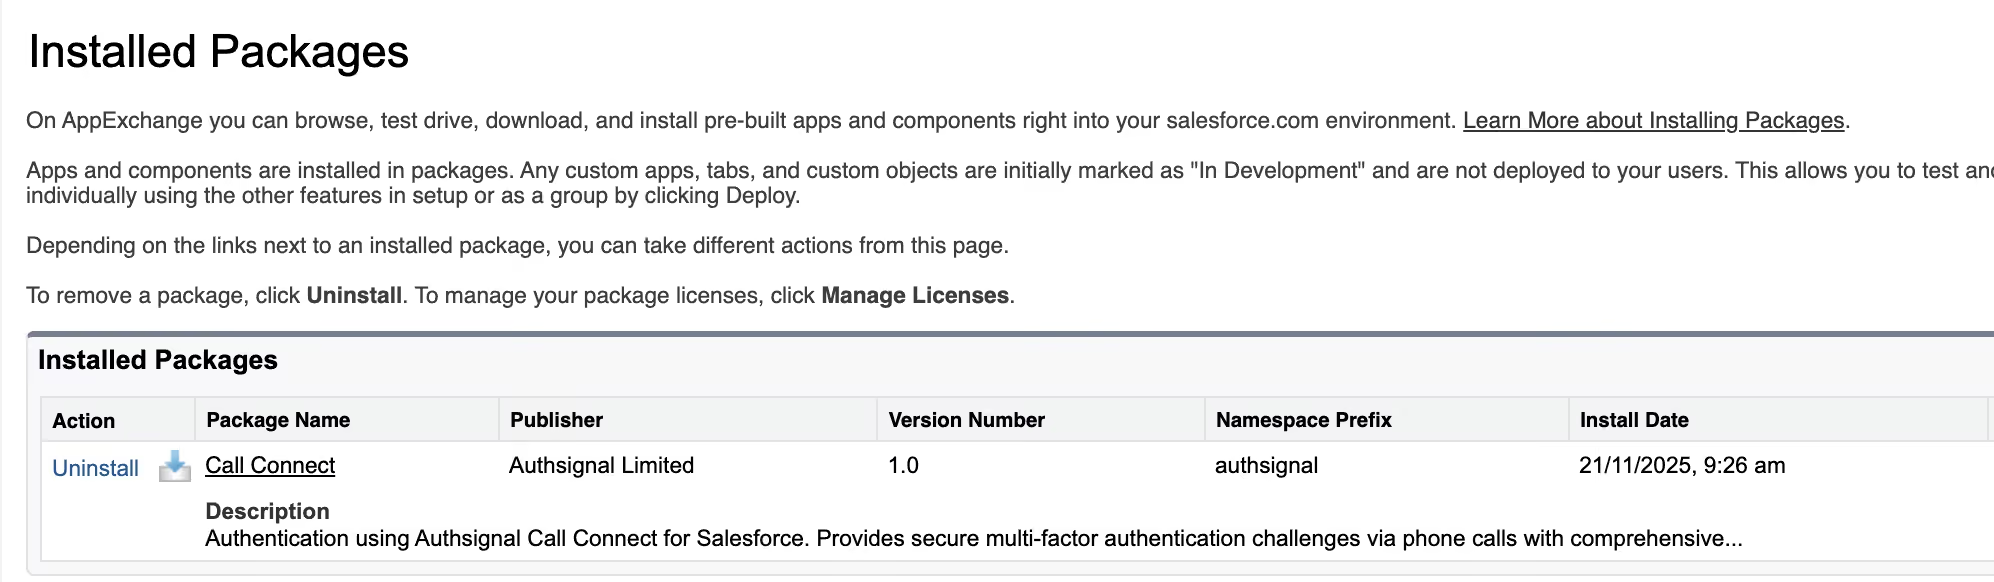
Installation usually takes two to five minutes. When it finishes, go to Setup > Apps > Packaging > Installed Packages and confirm that Call Connect appears in the list.
Step 2: Assign permission sets
Assign the relevant permission sets immediately after installation.
For administrators:
- Go to Setup > Users > Permission Sets.
- Select Call Connect Administrator.
- Select Manage Assignments.
- Select the administrators who need access.
- Select Save.
For standard users:
- Go to Setup > Users > Permission Sets.
- Select Call Connect Standard User.
- Select Manage Assignments.
- Select the users who need to create authentication challenges.
- Select Save.
Step 3: Configure the Salesforce Site
Call Connect uses a Salesforce Site to receive webhooks from Authsignal. These webhooks return the outcome of each authentication session to Salesforce.
Go to Setup > Sites and Domains > Sites.
If Salesforce Sites is not enabled, select Enable Sites, accept the terms and conditions, and register a domain name such as yourcompany-callconnect. If Sites is enabled but no domain exists, Salesforce will prompt you to register one.
Select New Site and enter:
- Site Label: Call Connect Webhook Site
- Site Name: CallConnectWebhookSite
- Active Site Home Page: Select an available page, such as AnswersHome, FileNotFound, or SiteLogin
An active home page is required for the site to work correctly.
.avif)
Select Save, then record the site domain name. You will need it when configuring Salesforce in the Authsignal Portal.
Step 4: Give the guest user webhook access
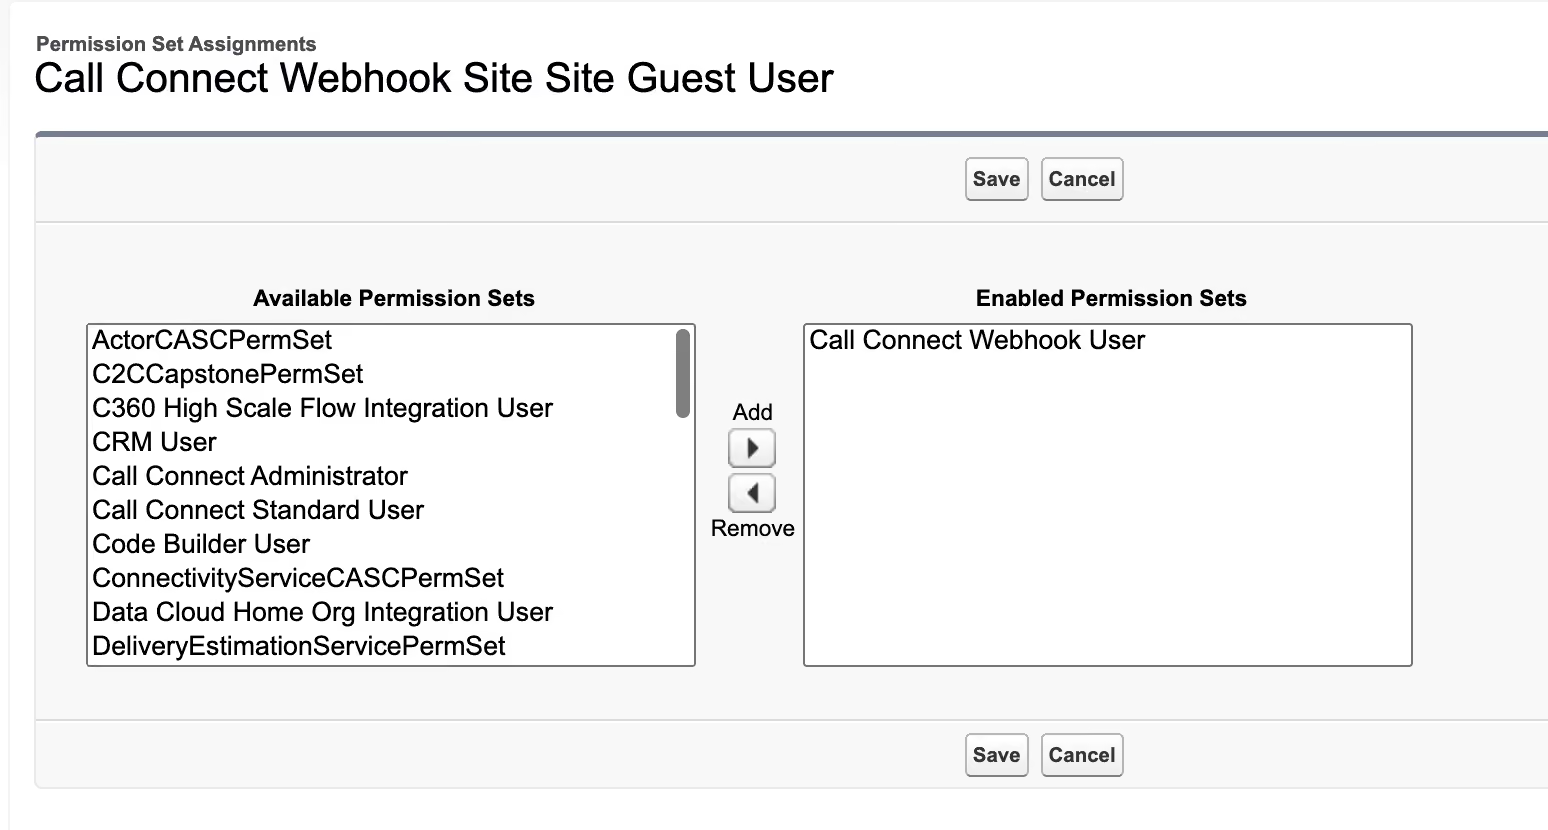
From the Site details page, select Public Access Settings, then View Users. Find the Site Guest User and open its profile.
.avif)
Under Permission Set Assignments, select Edit Assignments. Add the Call Connect Webhook User permission set and save the change.
Test the webhook by opening the health-check endpoint for your organization type:
- Production:
https://[your-site-domain].my.salesforce-sites.com/services/apexrest/authsignal/callconnect/webhook - Developer Edition:
https://[your-site-domain].develop.my.salesforce-sites.com/services/apexrest/authsignal/callconnect/webhook - Sandbox:
https://[your-site-domain].sandbox.my.salesforce-sites.com/services/apexrest/authsignal/callconnect/webhook
Replace [your-site-domain] with the domain recorded in the previous step. A healthy endpoint returns a response similar to this:
<response>
  <endpoint>/services/apexrest/authsignal/callconnect/webhook</endpoint>
  <error></error>
  <status>healthy</status>
  <timestamp>2025-11-17T10:30:15.719Z</timestamp>
  <version>1.0.0</version>
</response>
If the endpoint returns FORBIDDEN, check that the Call Connect Webhook User permission set was assigned to the Site Guest User.
Step 5: Configure the Case record page
Navigate to Setup > Objects and Fields > Object Manager, select Case, then select Lightning Record Pages on the left navigation. Select Call Connect Case Record Page Template.
.avif)
Click Clone and rename the Label (the API name will auto-populate).
.avif)
Modify the page as needed. The Authenticate button is the Call Connect Challenge component. The Call Connect Transaction Record component displays a log of Call Connect activity.
.avif)
Select Save, then Activation. Choose the appropriate scope for your organization. To use the page across the organization, select Assign as Org Default, choose Desktop, select Next, and then Save.
Step 6: Configure Call Connect custom metadata
Managed-package custom metadata cannot be edited directly, so create a clone of the supplied record.
Go to Setup > Custom Code > Custom Metadata Types. Next to Call Connect Settings, select Manage Records. Open Case Settings Template (please clone) and select Clone.
Configure the record as follows:
- Label: Use a descriptive name, such as
My Case Settings - Call Connect Settings Name: This is populated automatically
- Is Active:
true - Challenge Status Field:
authsignal__CallConnectStatus__c - Challenge Time Allowed:
60 - Email:
Contact.Email - Phone:
Contact.Phone - Transaction Relationship Field:
CaseId
.avif)
The challenge time is measured in seconds. The email and phone values map fields from the Salesforce Case to Call Connect, while the relationship field links a Call Connect transaction to its parent Case.
Select Save. The template supplied with the managed package is already inactive, so the cloned record becomes the active configuration when Is Active is set to true.
Step 7: Configure Salesforce in the Authsignal Portal
Sign in to the Authsignal Portal and go to Settings > Call Connect. Select Salesforce.
Enter the following details from your Salesforce Site configuration:
- Salesforce Organization ID
- Organization Type
- Site ID
- Site Domain Name
Select Activate Call Connect.
.avif)
On the Call Connect settings page, find the Call Connect API Keys section and copy the API secret key. You will add it to Salesforce in the next step.
Step 8: Add the API key to Salesforce
In Salesforce, go to Setup > Security > Named Credentials. Open the External Credentials tab and select CallConnectExtCredentials.
Under Principal, open the dropdown and select Edit. Set the API_KEY parameter to the Call Connect API secret copied from the Authsignal Portal, then select Save.
.avif)
Treat this key as a secret and do not expose it in client-side code or public documentation.
Where caller verification can help
Once Call Connect is configured, service teams can use it before handling requests such as:
- Account changes: Verify the caller before updating billing or contact information.
- Password resets: Use a configured authentication challenge instead of relying only on security questions.
- Sensitive-information requests: Verify the caller before disclosing account statements, transaction history, or personal data.
- Billing disputes and fraud claims: Confirm identity before discussing account details or changing the account.
- Service upgrades: Verify the person authorizing an upgrade or add-on that affects billing.
The appropriate authentication method and assurance level will depend on the request, your Authsignal configuration, and your organization’s security policies.
Test the complete flow
Before rolling the integration out to service agents, run a test from start to finish:
- Open a test Case with a Contact that has the required phone or email value.
- Initiate a Call Connect challenge from the Case page.
- Complete the challenge using an enabled authentication method.
- Confirm that Salesforce receives the outcome and updates the Case as expected.
- Check that the Call Connect transaction appears in the activity record.
Call Connect is now ready for your Salesforce service workflow. For additional setup details, see the Salesforce integration documentation. If you need help choosing authentication methods or configuring the integration, contact the Authsignal team.