Passkeys are straightforward to test by hand. Testing them in CI is less obvious: the runner has no Touch ID sensor, Windows Hello prompt, or person available to tap a security key.
One common workaround is to mock navigator.credentials. That can confirm that the right button or error message appears, but it skips the WebAuthn ceremony itself. It does not tell you whether the browser can create a credential, whether your relying-party configuration is correct, or whether the server accepts the signed response.
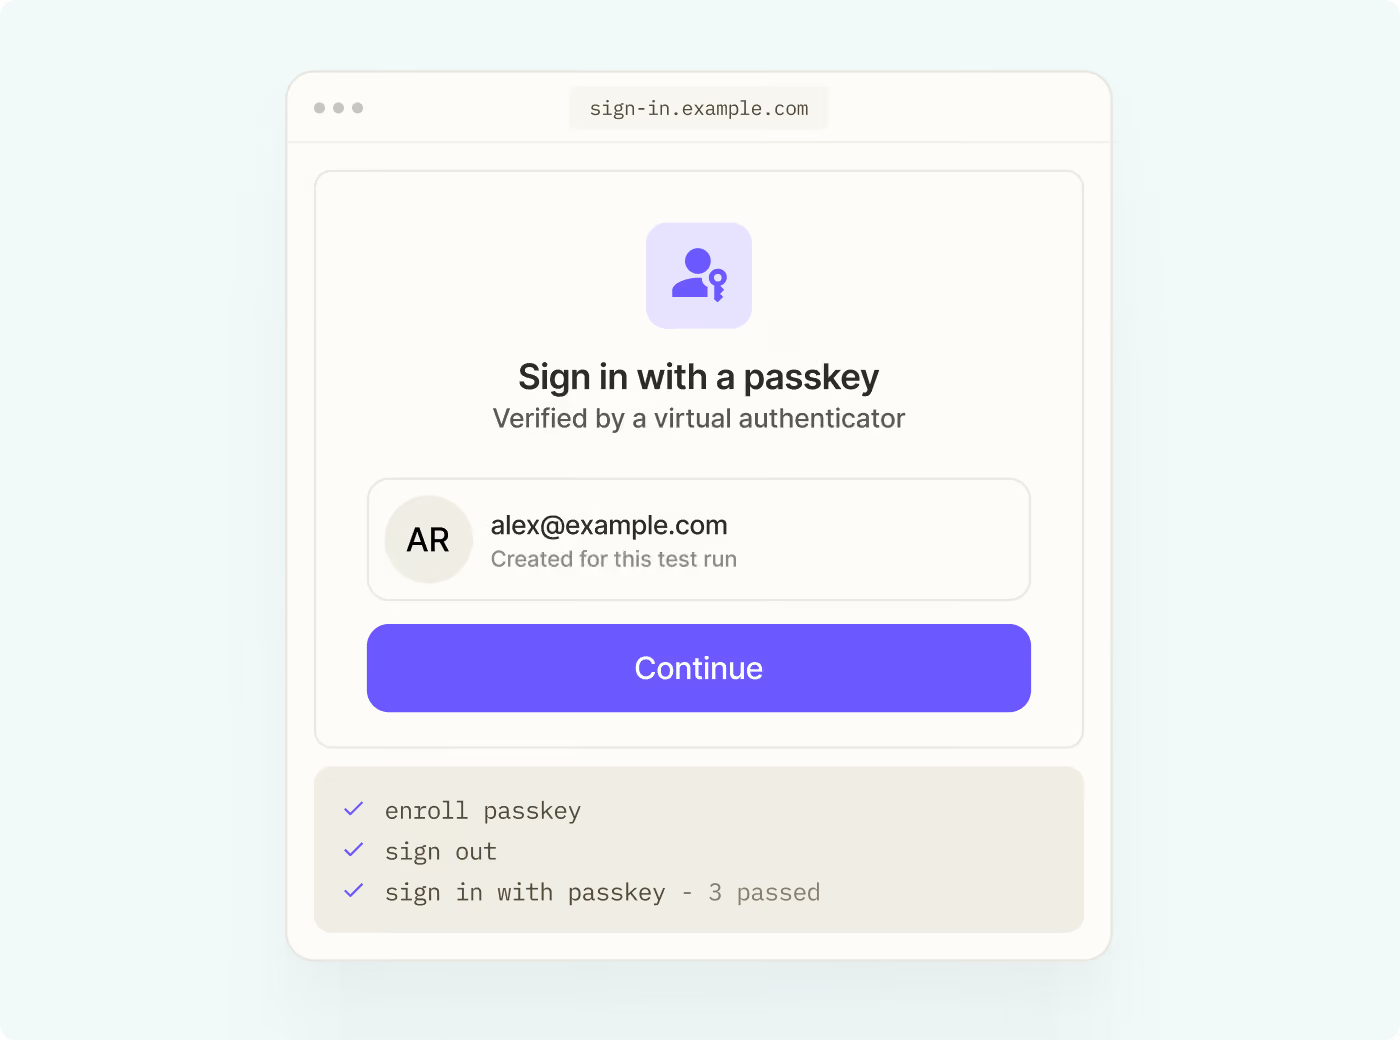
Playwright can fill that gap with a virtual WebAuthn authenticator. In this guide, we will use one to test a complete passkey journey: a user enrolls a passkey, signs out, and uses the same passkey to sign back in.
How a virtual authenticator works
A virtual authenticator is a software implementation of the device that normally stores and uses a passkey. Once it is installed in a Playwright browser context, calls to navigator.credentials.create() and navigator.credentials.get() use the virtual device instead of looking for real hardware.
The browser still creates a credential and produces the WebAuthn registration or authentication response. Authsignal verifies that response through the same API path used for a passkey from a real device.
This gives the test much more coverage than a mocked browser promise. It can exercise:
- Your relying-party configuration
- The Authsignal action and challenge
- Server-side validation
- The application session created after successful authentication
Playwright added its first-class virtual authenticator in version 1.61. It works across Chromium, Firefox, and WebKit.
What we are going to test
The test will follow one user through the full passkey lifecycle:
- Open the application and sign in with its existing primary factor.
- Enroll a passkey through Authsignal.
- Confirm that the browser created a credential.
- Sign out.
- Sign back in with the enrolled passkey.
- Confirm that the application created the expected session.
You will need Playwright 1.61 or later, an Authsignal tenant with passkeys enabled, and a test user that your suite can create or reset.
Run the enrollment and sign-in journey
Install the virtual authenticator before the page first uses WebAuthn. It stays attached to the browser context, so the credential created during enrollment remains available when the user signs in again.
import { test, expect } from "@playwright/test";
import { createTestUser } from "./utils/fixtures";

test("a user can enroll a passkey and sign back in", async ({
  context,
  page,
}) => {
  await context.credentials.install();

  const user = await createTestUser();
  const rpId = "yourapp.com";

  await page.goto("<https://yourapp.com/login>");
  await page.getByRole("textbox", { name: "Email" }).fill(user.email);
  await page.getByRole("textbox", { name: "Password" }).fill(user.password);
  await page.getByRole("button", { name: "Sign in" }).click();

  // Your app starts Authsignal's passkey enrollment flow here.
  await page.getByRole("button", { name: "Set up a passkey" }).click();

  await expect
    .poll(async () => {
      const credentials = await context.credentials.get({ rpId });
      return credentials.length;
    })
    .toBe(1);

  await expect(page.getByText("Passkey created")).toBeVisible();

  await page.goto("<https://yourapp.com/logout>");
  await page.goto("<https://yourapp.com/login>");

  // Your app calls authsignal.passkey.signIn() behind this button.
  await page
    .getByRole("button", { name: "Sign in with a passkey" })
    .click();

  await expect(page.getByText(`Welcome, ${user.email}`)).toBeVisible();
});
Replace the URLs and selectors with the ones from your application. If you use Authsignal's pre-built UI or an identity-provider integration, the navigation will look different, but the test should keep the same checkpoints.
First, check that the virtual authenticator contains the new credential. Then make an application-level assertion after enrollment and sign-in. Finding a credential in the browser proves that the WebAuthn ceremony ran; the final assertion proves that Authsignal accepted the result and your application established the expected session.
The companion minimal Authsignal passkey demo is a useful starting point. It includes the sample application, Authsignal server routes, the complete Playwright test, and a recording mode for running the journey slowly in a headed browser.
Run the test in CI
The virtual authenticator does not need a display server or physical security hardware. Once the test works locally, it can run in the same CI job as the rest of your Playwright suite.
Install the browser dependencies and run the test with:
npm ci
npx playwright install --with-deps
npm run test:e2e
What this test does not replace
A virtual authenticator tests the protocol and your integration. It does not reproduce the complete experience of Apple Passwords, Google Password Manager, Windows Hello, or a physical security key.
Keep a smaller set of real-device tests for behavior that depends on native UI, including account pickers, biometric prompts, phone-assisted QR flows, and passkey sync between devices. Those experiences happen outside the page DOM and cannot be validated faithfully by a browser runner.
The virtual test is best used as the repeatable CI check for your core journey. Real-device testing covers the platform-specific experience around it.
Go beyond the happy path
Once the enrollment-and-sign-in test is running, you can add coverage for passkey autofill, stale credentials, failed user verification, invalid signatures, and credentials that are or are not backed up.
See the Authsignal E2E passkey testing documentation for those advanced scenarios, Chrome DevTools Protocol controls, credential reuse, and examples for other test runners.