In Part 1, we explored how Authsignal actions serve as the foundation for contextual authentication by tracking user activities and providing rich context for security decisions. In Part 2, we dove deep into the rules engine, learning how to create sophisticated no-code rules that evaluate risk factors and determine when to challenge users.
Now, it's time to bring it all together with practical implementation guidance. In this article, we'll show you exactly how to integrate actions and rules into your applications with real code examples, best practices, and advanced patterns.
Let's get started by setting up your development environment for Authsignal integration.
Getting started
Install the required SDKs
Server-side setup
Initialise the Authsignal client with your tenant credentials
Client-side setup
For web applications, initialize the client SDK:
Implementing your first action
Let's start with a practical example: implementing secure sign-in with Authsignal actions and rules. This example demonstrates the core pattern you'll use throughout your application.
Step 1: Server-side action tracking
When a user attempts to sign in, track the action with Authsignal to determine if additional security measures are needed:
Step 2: Handling different rule outcomes
Create a helper function to handle the different outcomes your rules might produce:
Step 3: Client-side device identification
To enable device-based rules, you need to provide a consistent device identifier. Authsignal's web SDK automatically manages this:
Handling authentication challenges
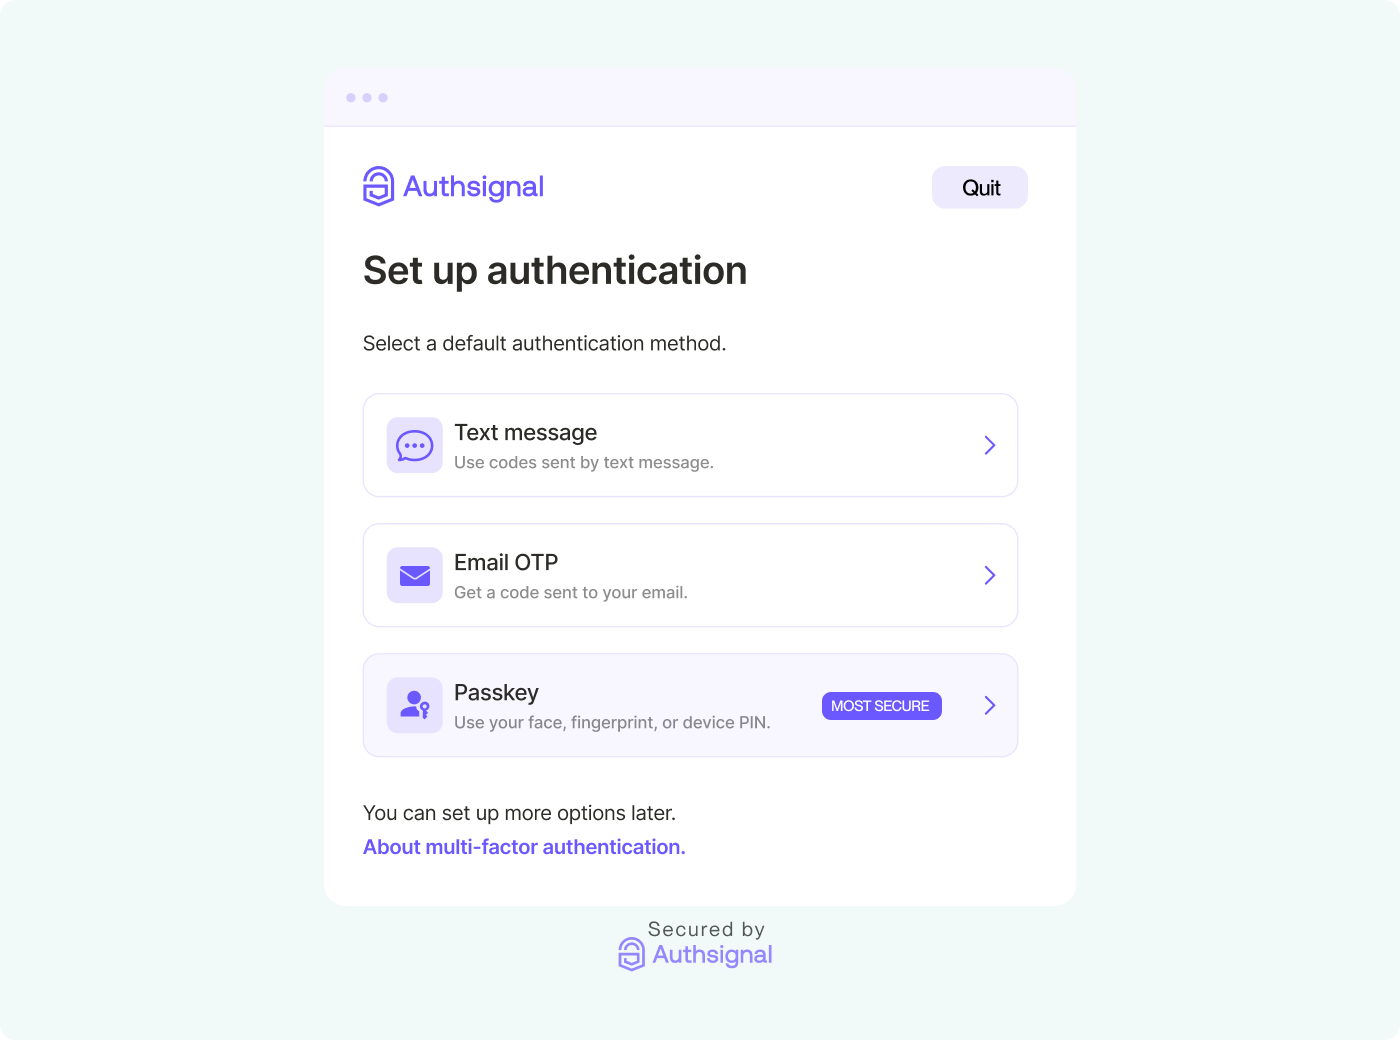
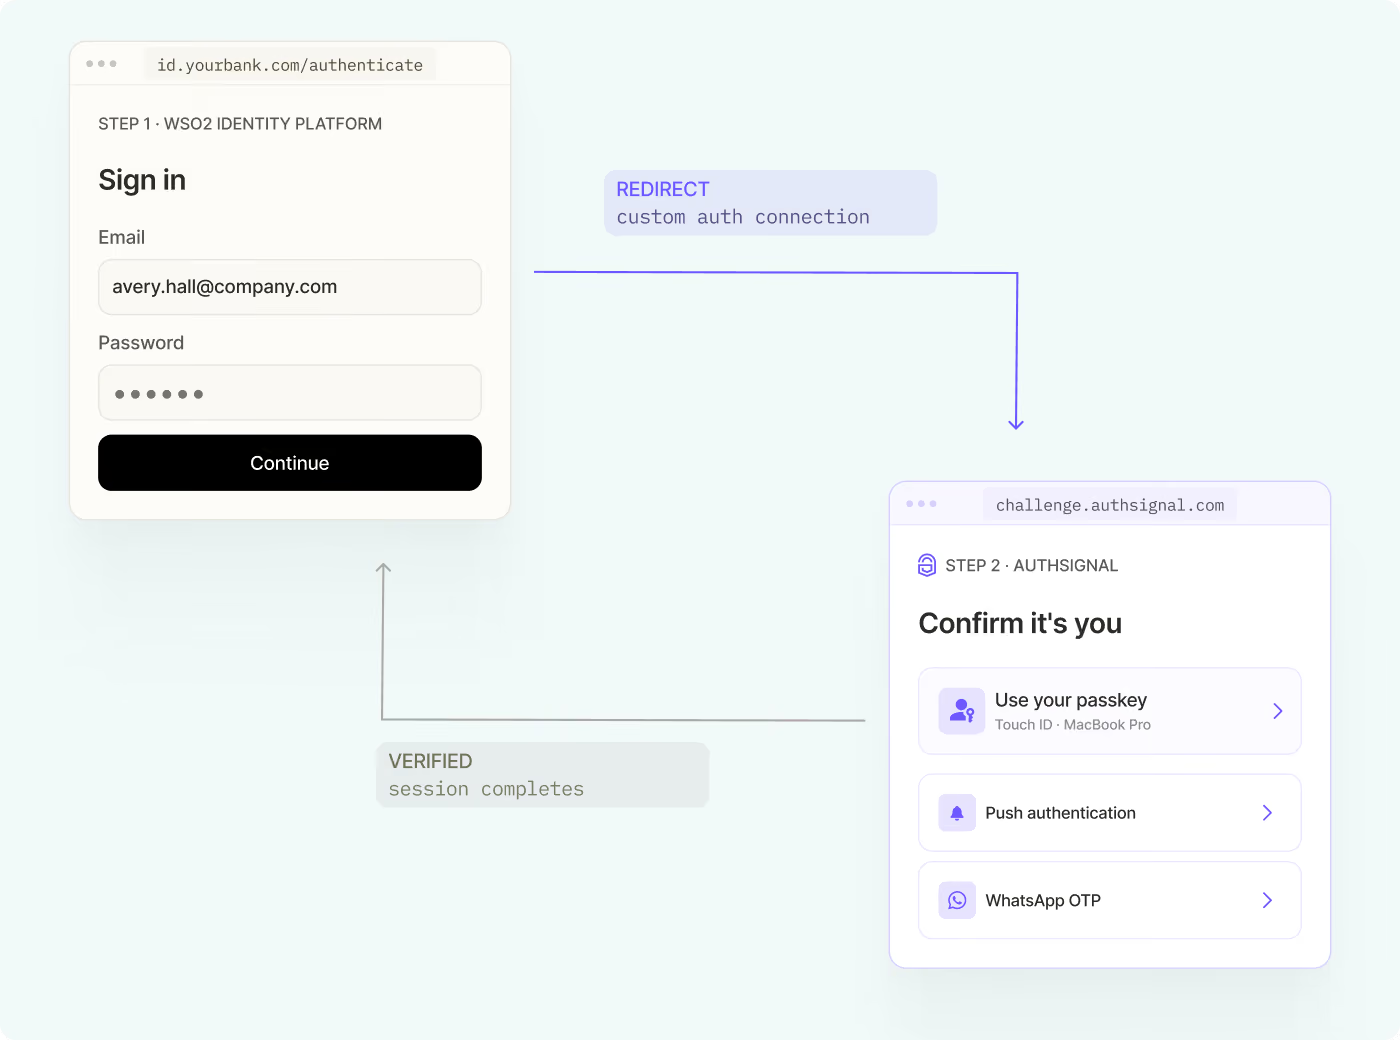
When your rules determine that a challenge is required, you have two main options for presenting it to users: hosted UI or custom UI with SDKs.
Option 1: Using hosted UI
Option 2: Custom UI with client SDKs
Server-side challenge validation
Validate challenge results on your server:
Working with custom data points
You can also create rules based on your own business data. This requires two steps: defining custom data points in the Authsignal portal and including that data when tracking actions.
Defining custom data points
Before using custom data in rules, you need to define the data points in the Authsignal Portal:
- Navigate to your action's Rules section
- Click "Add feature" when creating a rule
- Select the "Custom" tab
- Click "Create data point" and define your data point and fill in the details.
The Type field is crucial:
- Number: Enables comparisons like
>,<,>=,<= - String: Enables operations like
CONTAINS,STARTS_WITH - Boolean: Enables
==and!=operations - Multiselect: For data points that can have multiple predefined values
Using custom data in actions
When you include custom data with your actions, it must be nested within a custom object in the attributes:
Note: The field names within the custom object must exactly match the names you defined when creating the custom data points in the Authsignal Portal.
Financial services example
Let's implement a basic example for a financial application:
Persistent user data
For data that needs to persist across multiple actions and inform future security decisions, use Authsignal's user custom data feature:
Best practices recap
As you implement Authsignal in your application, keep these best practices in mind:
User experience
- Use clear, contextual messaging for challenges
- Implement progressive authentication (start with less friction)
- Provide multiple authentication options when possible
Testing and monitoring
- Test with different user risk profiles
- Monitor authentication success rates
- Regularly review and adjust rules based on data
Conclusion
Implementing Authsignal's actions and rules engine gives you the power to create sophisticated, risk-based authentication that adapts to your users and business needs. By following the patterns and examples in this guide, you can build a security system that protects against threats while maintaining a smooth user experience.
Regularly review your rules, monitor their effectiveness, and adjust based on new threats and user feedback. The flexibility of Authsignal's system allows you to evolve your security as your application and user base grow.
Ready to implement intelligent context-aware authentication in your app? Sign up for a free Authsignal account or book a demo with our team to get started.