.avif)
.avif)
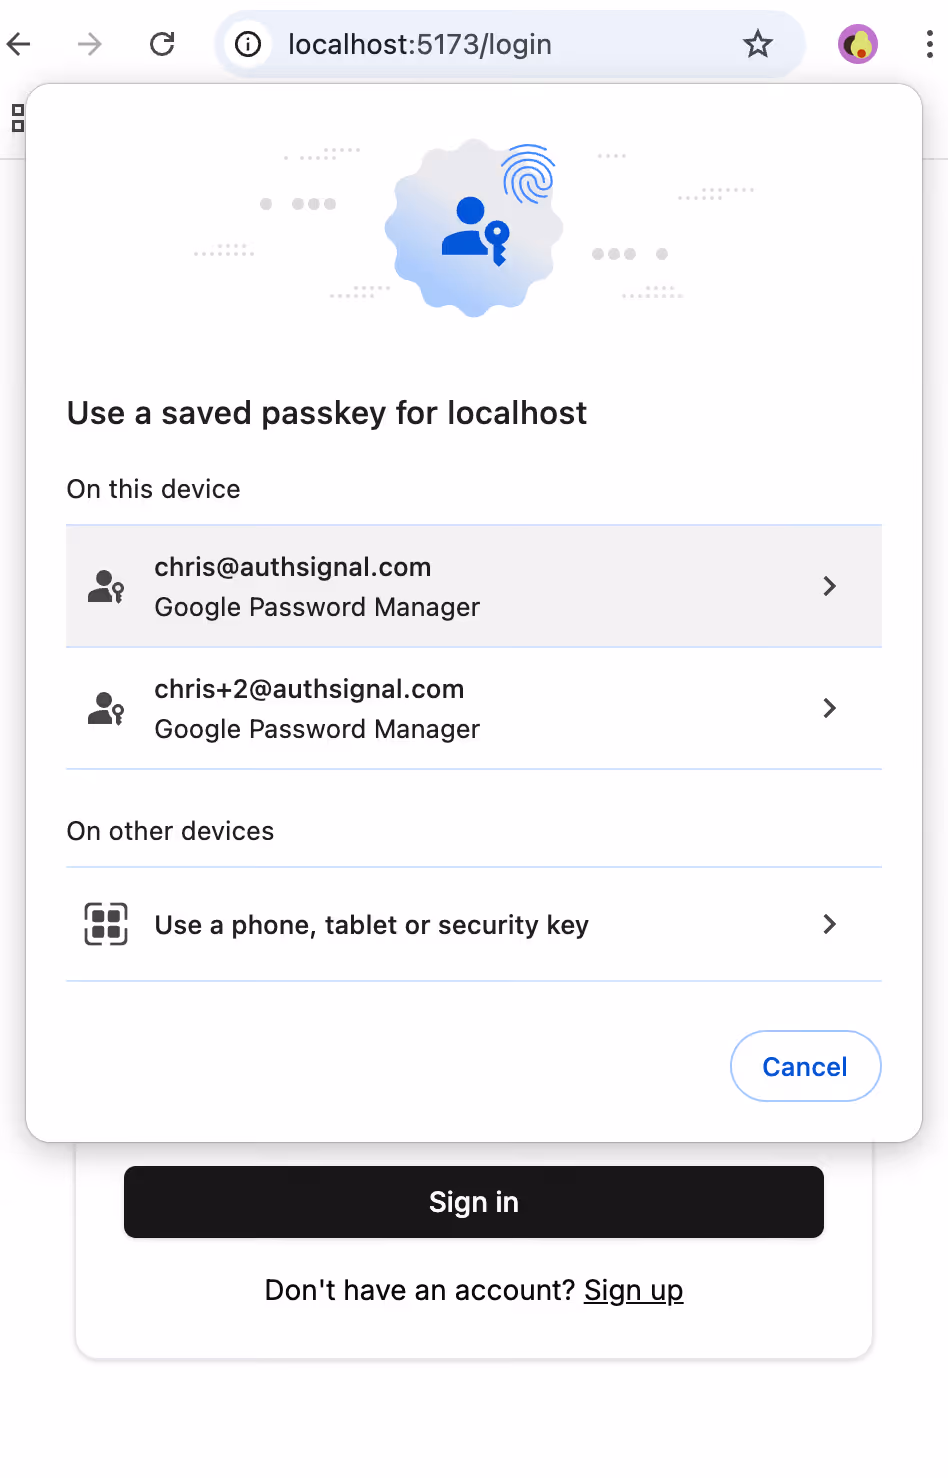

A passkey sign-in button
Another way of supporting passkey sign-in, which can be used alongside autofill, is to add a separate button that is clearly labeled as a passkey sign-in option.

In the above example, a passkey sign-in button is presented as an alternative to the traditional option of entering a username. Like autofill, this button is an example of device-initiated authentication. If the user presses the button, the browser can prompt the user to authenticate with a passkey available on the device.

In contrast to autofill, however, the scenario where a device doesn't have any passkeys available is handled differently. The button is forcing the browser to initiate passkey authentication without knowing whether or not the device has any available; if none are available, then the browser has to fall back on displaying a QR code or wait for the user to insert a security key.
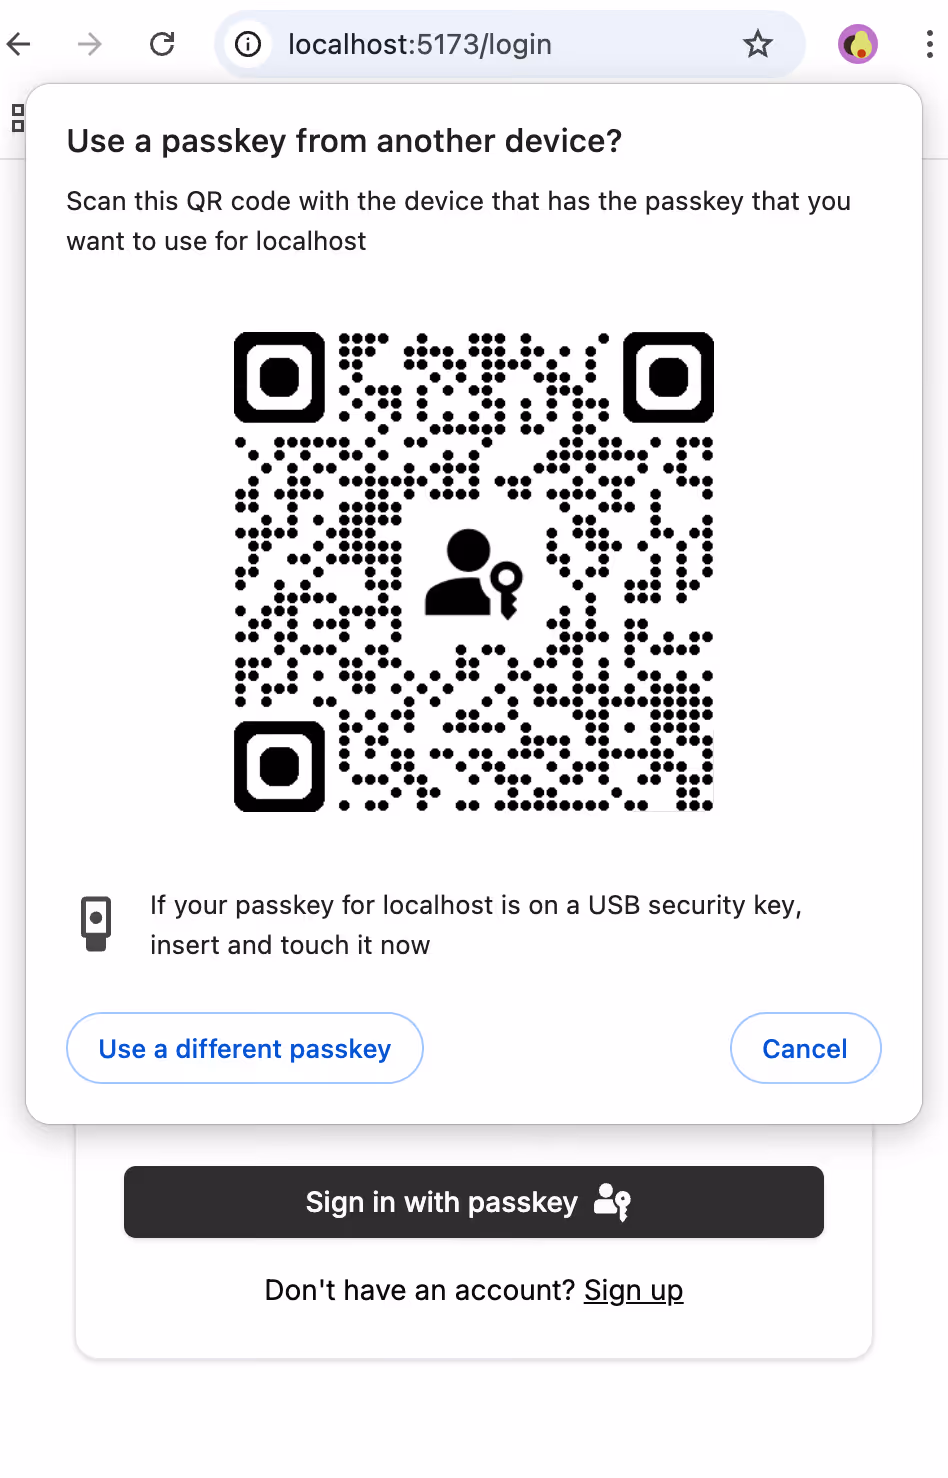
This may be a valid scenario if the user has previously created a passkey for the site on a different device, and it can't be synced to their current device. For example, if they originally created the passkey on an iPhone and are now trying to sign-in on a Windows desktop browser, then they can scan the QR code with their iPhone.
However, the QR code can also be a jarring experience for users who haven't previously created a passkey or who aren’t familiar with the nuances of how passkeys get synced across different devices. For this reason, it's important to trigger the QR code flow from a user-interaction, like a passkey sign-in button, where the user has explicitly opted to use passkeys. We want to avoid launching the QR code flow from a context where the user may not anticipate or understand it.
Username-initiated passkey sign-in
There are some cases where it makes sense to limit the available passkeys presented by the browser to a single user. If passkeys are used for MFA as a secondary authentication factor, for example, then you only ever want to show passkeys for the same user that authenticated in the first step.
This behavior can be achieved with passkeys via the allowCredentials parameter. You can use this parameter to tell the browser to restrict the list of available credentials to only those that you have on record for a given user.
While MFA is the most typical scenario where allowCredentials would be used, what if you want to use it to design a passwordless sign-in flow? For example, you could prompt the user to manually input their username, look up their account in your system, and then start an authentication challenge by presenting only the passkeys for that user.
Although allowCredentials does make this possible, there are some limitations to consider. Even if you restrict the browser to a list of credentials for a given user, you can't know whether those credentials are available on the device that the user is currently authenticating on. For example, the user may be on a device where the passkey they previously created can't be synced. Alternatively, they may have deleted the passkey from their password manager. For this reason, it's crucial to always clearly present a backup authentication option, even when using allowCredentials.
Summary
- While traditional passwordless authentication like email OTP is often “username-initiated”, passkeys represent a new paradigm of “device-initiated” authentication.
- Autofill is an unobtrusive way to add support for passkeys on your sign-in page while also supporting traditional passwordless sign-in based on a username.
- A passkey sign-in button can complement autofill by presenting whatever passkeys are available on the device (or a QR code if none are available).
- While the
allowCredentialsflag does make it possible to look up the user first by their username and then show only their passkeys, it’s always a possibility that none of their passkeys will be available on the device and that they’ll see a QR code; so you should always clearly present an alternative sign-in method and avoid leading users into dead ends.
Next steps
So far, we’ve discussed how passkeys behave in web browsers. However, there are some significant differences when it comes to native mobile apps. In a follow-up blog post, we’ll outline how an optimal passkey UX looks different in a native mobile app than it does in a web browser.
Resources - Free Figma UI Kit
To streamline your design process, download our "Best Practices for Passkey on WebApp—UI Figma Kit."
This kit includes WebApp iOS/Safari components for passkey product design, provided and maintained by Authsignal.
We showcase the following flows and components using Aurora, a fictitious fintech app:
Sign-in:
- WebApp sign-in with a passkey using Autofill (iOS/Safari)
- WebApp sign-in with a passkey using the 'Sign in with Passkey' button (iOS/Safari)
Creating a Passkey:
- WebApp creation of a passkey during the sign-in process (iOS/Safari)
- WebApp creation of a passkey during the account recovery process (iOS/Safari)
- WebApp creation of a passkey during reauthentication (iOS/Safari)
- WebApp creation of a passkey in account settings (iOS/Safari)
Our designs are developed to adhere to FIDO UX Guidelines and industry best practices.
.svg)